
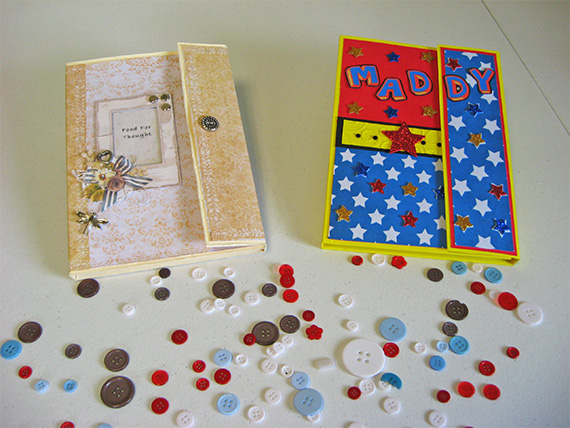
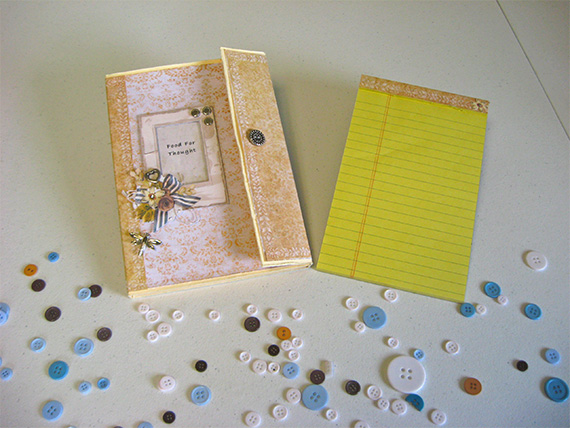
This is such a fun easy project. All you have to do is create the base for your notebook and then choose your favorite digital scrapbooking collection to customize your file folder. I have created 2 samples for you, one for a child and one for an adult. When your family and friends see these they’ll want one for themselves!
Digital scrapbooking products used:
Assemble Your Own Cards: 5×7 Super Heroes
Comic Book Alpha
Value Pack: Treasured Heirlooms
Craft supplies used:
9.5” x 11.75” File Folder (Letter Size)
8.5 x 11 cardstock for printing
5” x 8” Notepad
Paper cutter or scissors
Scor Tape or Other Adhesive
Score Board or Ruler and Bone Folder
Gems
Pop Dots
Velcro Dots OR Magnetic Discs
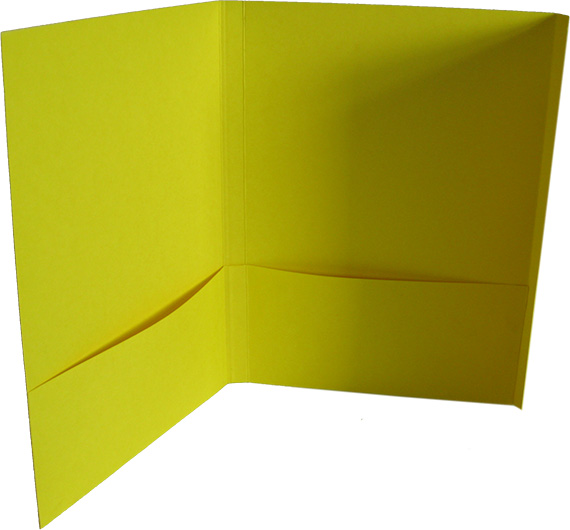
Step 1:
- Open file folder with tab on the right and score ½ inch from the left of the center fold.
- With your file folder open cut off 2 ¼ inches from the left side, this will include any tabs.
- Open the file folder, with the non-tab side facing left score at 12 ½ inches and 13 inches.
- Cut off the right hand tab.
- Open the file folder and score 3 inches from the bottom, use your bone folder to burnish all of your score lines.
- On the bottom right cut over to the 2nd score line and cut up to meet it on the 2nd score line, this will leave an empty square on the bottom of your project.

Step 2: Add scor tape to the bottom right and left hand sides up to the score line. Fold up to form the pocket of your folder and burnish to seal well.
Step 3: Create a new blank document in your photo editing software measuring 5 ¼ x 8 inches (you may have to adjust this measurement depending on whether or not you want to cover the entire front of the folder). Drag in your choice of digital scrapbooking paper/papers. If you are using multiple layers, merge the layers and save as a jpeg to print.
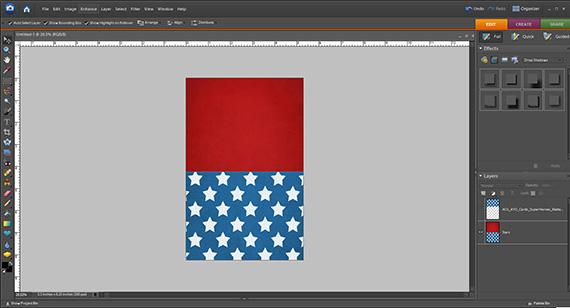
Step 4: Create a new blank document in your photo editing software measuring 2 ¼ x 8 inches (you may have to adjust this measurement depending on whether or not you want to cover the entire flap of the folder). Drag in your choice of digital scrapbooking paper/papers. This strip will be for the closure side of the folder. If you are using multiple layers, merge the layers and save as a jpeg to print.

Step 5: If you want the top of your notepad covered create a 2 x 5 inch strip that coordinates with the papers you used for your front cover (optional). Now you are ready to print and cut. Open a new 8 ½ x 11 inch document and drag in the cover and paper strips you just created. Print onto medium weight matte photo paper or cardstock.

Step 6: Choose the digital embellishments you want to use on your project and print. Decorate your folder.
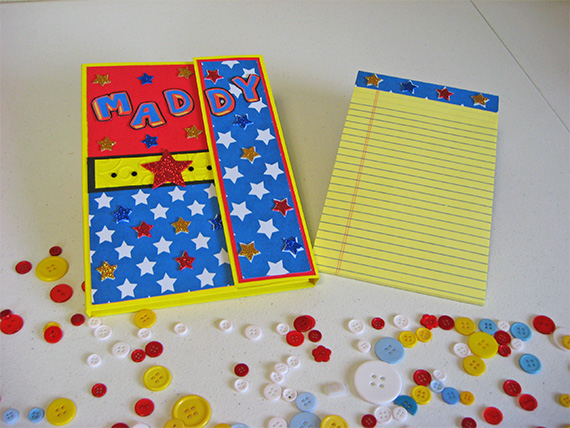
Step 7: Close the flap on your folder and attach either the Velcro closure or magnetic disc to the underside of the flap. I prefer the magnetic discs but that is my personal preference.
I hope you enjoyed this tutorial and will give this file folder notebook a try. Please share your projects in the Scrap Girls Hybrid Gallery.
 Tutorial written by Sherry Davis


