
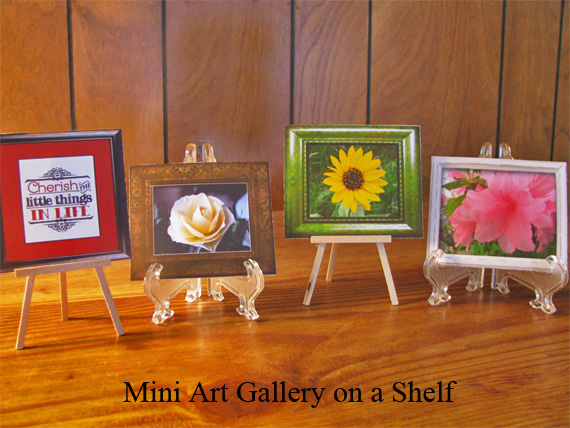
I have always loved “little things”, and miniatures of all kinds; and art is no exception. In this tutorial I will show you how to easily create your own mini art gallery using some easy to find items and your digital scrapbooking supplies. This is a wonderful way to display some of your favorite photos and works of art in a way that doesn’t take up much space. These also make great displays for favorite ATCs (Artist Trading Cards) and make wonderful little gifts as well.
Digital scrapbooking supplies used:
Abstract Expressionism Collection Biggie
Brandy Hackman’s Fab 5
From the Desk Of Embellishment Mini 1 Frames
Altered Art Frames 1 Embellishment Biggie
Autumn Riches Embellishments
Brush Set: Retro Type
Supplies used:
Miniature easels or decorative plate holders available at craft stores and on the internet
Scrap paper
Cardstock or photo paper
Ruler
Scissors or paper trimmer
Optional: chipboard, small button magnets (1/2” in diameter), strong adhesive to adhere magnets
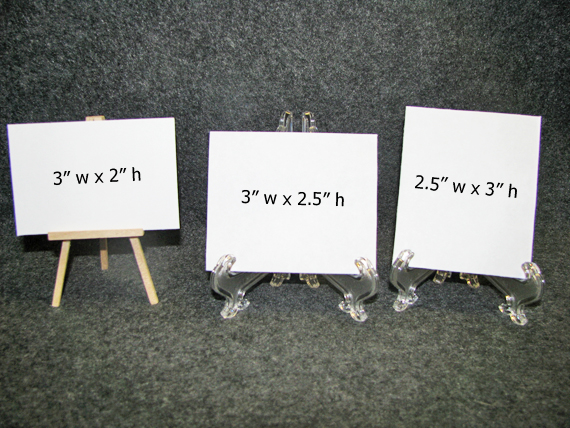
Note: The easels I used for this project are approximately 3.5 inches tall

Step 1 – First you will want to use your scrap paper to cut pieces the approximate sizes you will want for your artwork to sit on your easels. Once you are satisfied with how the papers look on your easels, measure the papers. These measurements are what you will use to create your frames in your software program.
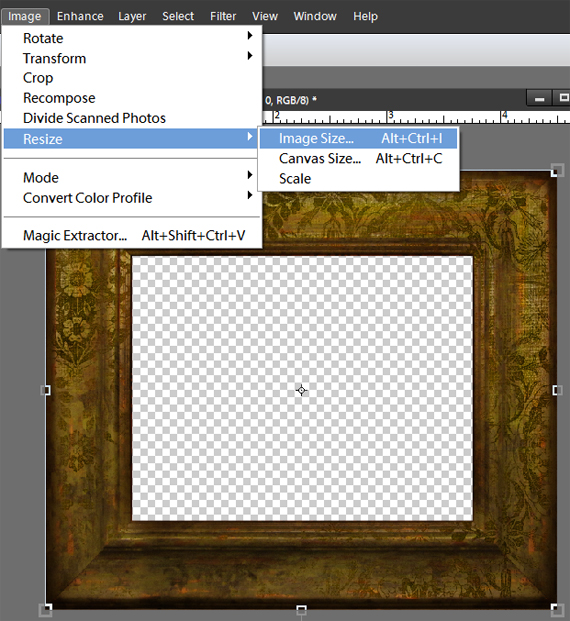
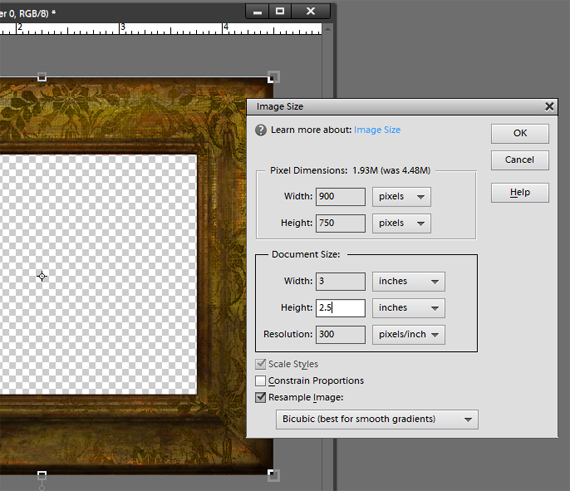
Step 2 – In your software program open a frame that you would like to use for one of your photos, duplicate the file and close the original. Re-size the frame to match the measurements of one of the papers you cut earlier. You can do this by clicking Image in the menu bar and selecting Resize>Image Size. (Alt+Ctrl+I)
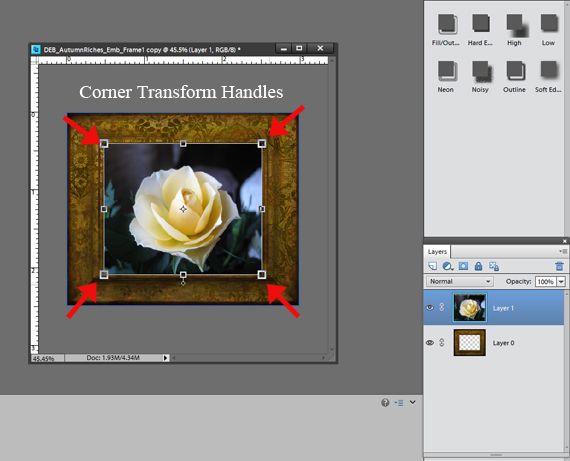
When you have sized the frame to the dimensions you need, open the photo you want to use, duplicate it and close the original. Re-size the photo the same way and drag the photo onto the frame, placing it over the frame opening and adjust the size it so it is slightly larger than the frame opening.
I find the easiest way to adjust the photo is to select the Move tool (V), be sure Show Bounding Box in the tool options bar is checked and hold the Alt key while dragging a corner transform handle until the photo is just slightly larger than the frame opening.
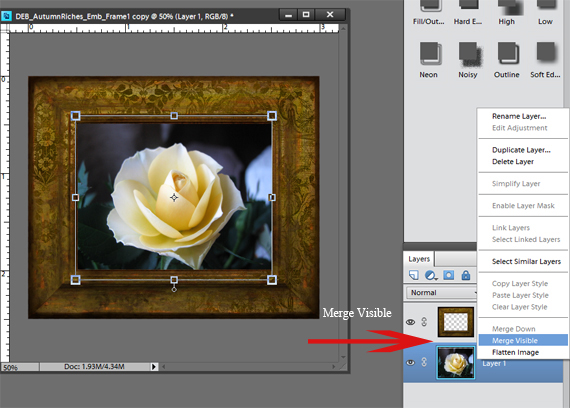
In the layers palette, drag the photo layer below the frame layer. Right click on the photo layer and select Merge Visible.
Step 3 – Create a blank 8.5 x 11 document and drag the framed photo onto the page. Print and cut out.
Repeat Steps 1 and 2 for additional frames and photos/art work.
Your framed art is now ready to be placed on the easels and displayed on a shelf, table, or mantel.
Optional:
If desired, you may wish to add pieces of chipboard or stiff cardboard to the backs of you pieces for added stability.
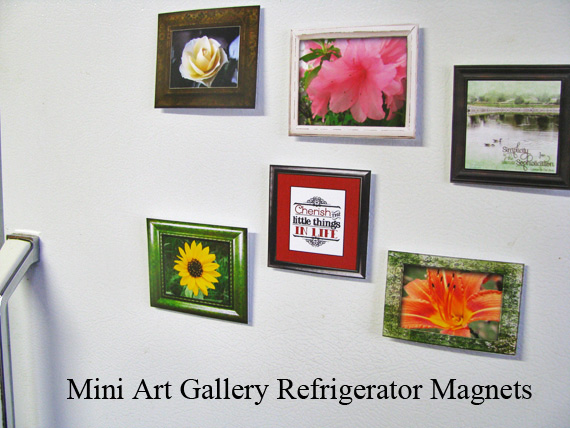
You could also glue small magnets (1/2” in diameter) to the back of your art work to create fridge magnets. Because the magnets are so small, your artwork can easily be switched back and forth from the refrigerator to the easels.
I hope you’ve enjoyed this tutorial and I would love to see some of your own miniature art work.
Please feel free to share your lovely little creations in the Scrap Girls Hybrid Layout Gallery.

Tutorial written by Theresa Guyer


