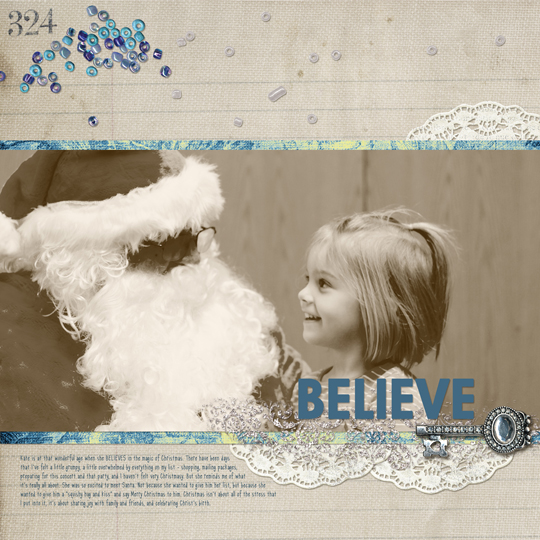
I love black-and-white photos for many reasons. Sometimes, a little less color helps to capture the mood of the moment better. Plus, some full color pictures are full of distractions. Removing the color helps us to focus on the expressions on the faces, the lines in the photo, etc. In this tutorial we’ll explore how to use the gradient map in Photoshop to get the perfect black-and-white photos.
There are about a million different ways to change a photo from color to black and white in Photoshop Elements (okay, maybe not quite that many, but there are a lot!). My favorite method uses the gradient map Adjustment Layers feature. I like Adjustment Layers because they don’t actually change the photo layer; they just alter how it looks. This makes it easy to add and remove effects and tweak colors until you get the exact combination you are looking for. Here’s how to use it:
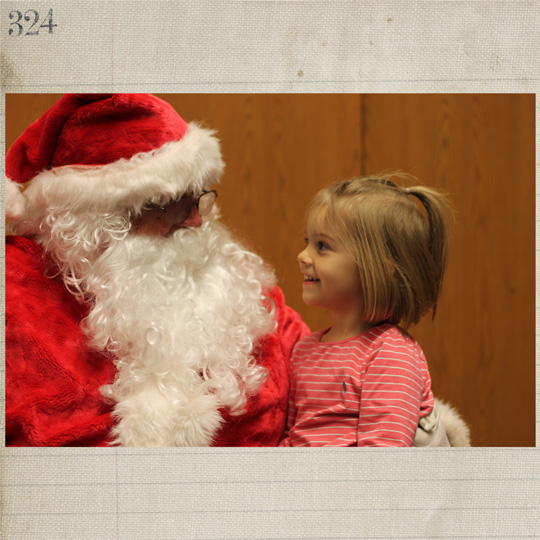
Step One: Create a new 12×12-inch document. Place a picture on it.
 Step Two:
 Create a Gradient Map Adjustment Layer. The Adjustment Layer icon is a small half-black, half-white circle at the bottom of the Layers palette. Click on it and you will see a list of different types of layers. Make sure to choose Gradient Map, not Gradient. You will see your photo change colors immediately. (If your picture doesn’t change color, make sure the adjustment layer is above the photo layer in the Layers palette.)
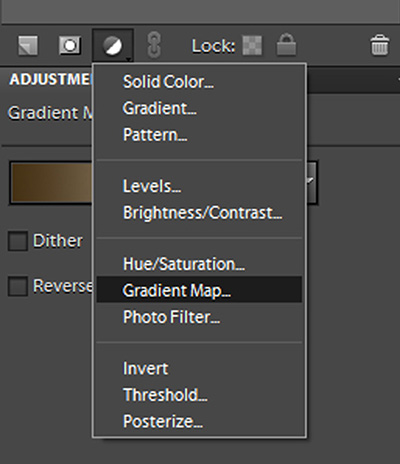
Depending on what colors you had your Color Palette set to, your picture may be black and white, or it may be a strange combination of shades. Don’t worry – it is all easy to fix.
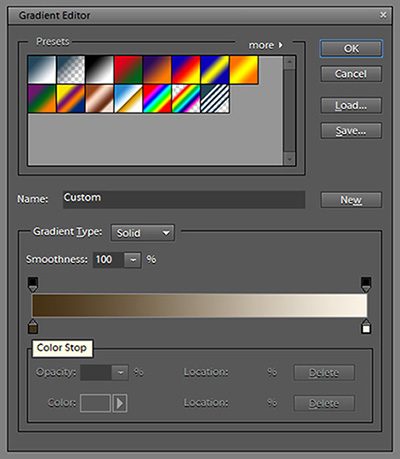
Step Three: Click anywhere on the color bar in the Adjustments Layer Palette. This will open the Gradient Editor window.
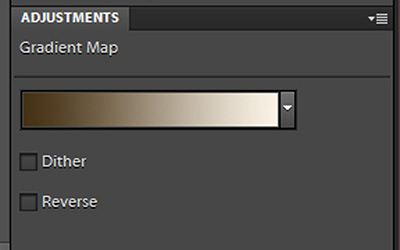
You will see a variety of preset gradients and another color bar. This time, there are two boxes at each end of the color bar. These are called “Stops” and can be moved around to create custom gradient patterns, but for today, we will just use them to change colors.
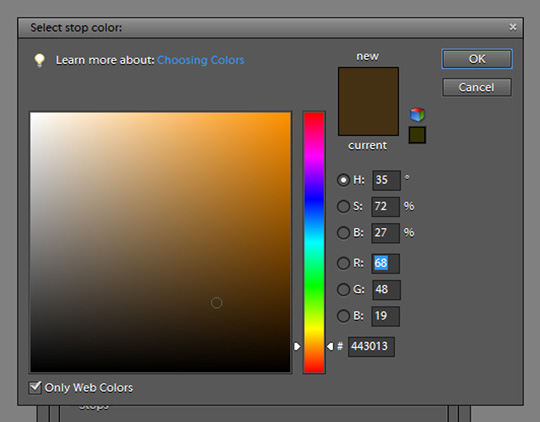
Step Four: Double-click on the Color Stop on the far left. A window will open that allows you to select the Stop color.
The closer to black you select, the closer to black your image will be. You can exactly customize the shade you want. Click Okay to select your color, then repeat the process for the other stop. You will want this one to be white or cream.
 Step Five:
 To keep the Gradient Map Adjustment Layer from altering the colors of all of the layers on your layout, use a Clipping Mask (Ctrl+G or Cmd+G) to clip it to the photo layer.
Add other Adjustment Layers to get other looks. I add a Levels Adjustment Layer to just about every picture I take. And the Hue/Saturation and Brightness/Contrast Layers are favorites also. If you haven’t played around with them, give it a shot! The nice thing is that you can always delete the layer if it doesn’t give you the look you want.
 Digital scrapbooking supplies used:
 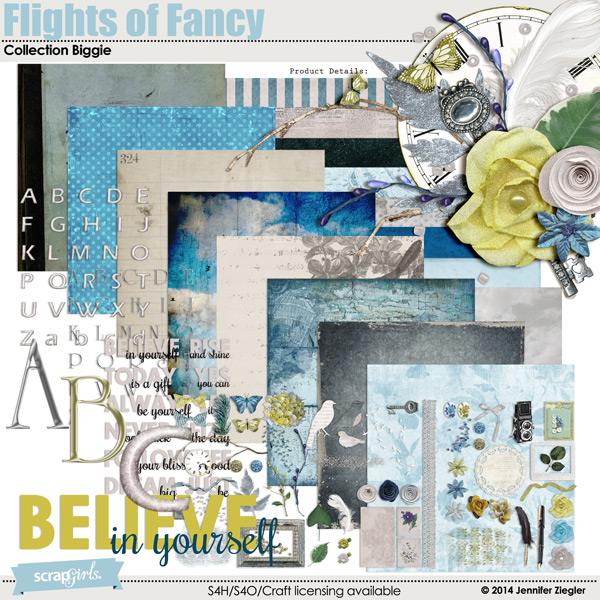 Flights of Fancy Collection Biggie
 Article written by Anna Mansfield


