The
ScrapSimple Embellishment Templates: String Art Spiros included in this month’s ScrapSimple Club can add some fun dimension to your cards and scrapbook pages. For this tutorial, I’ll show several ways to use them and give you a few tips, too.
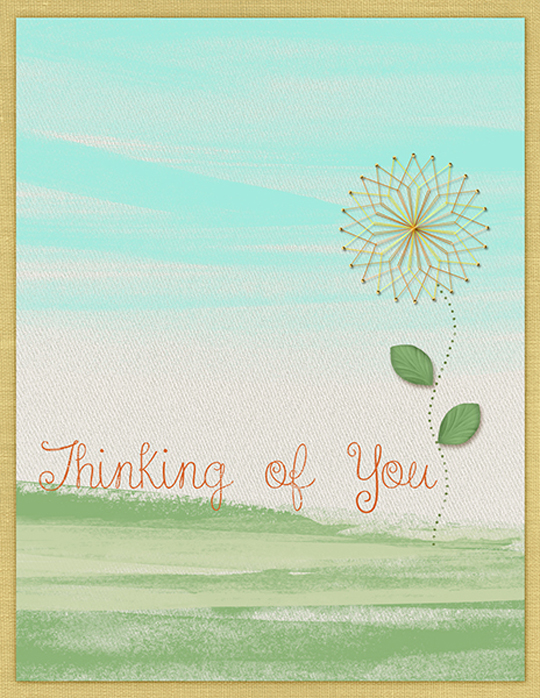
For the first project, I created a greeting card using a String Art Spiro as a flower.
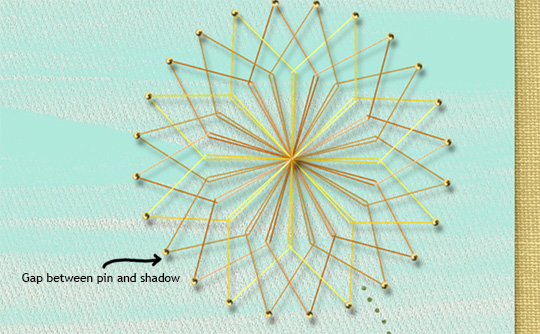
When I reduced the size of the flower to fit on my card, the drop shadow on the coloring style included with the club got a bit too big. In the screen shot below, you can see the gap between the pin and its shadow.
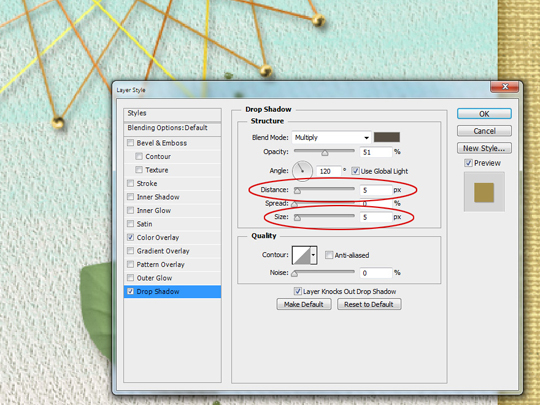
To fix this, I opened the drop shadow in the Styles panel and changed the distance and size on the shadows until I got a more natural look.
For the next project, I used a String Art Spiro to frame a photo of my granddaughter. The round frame from ScrapSimple Embellishment Templates: Fall Out Frames made it easy to fit my photo in the center of the spiro and also gave it a pretty, blended look.

Finally, I used String Art Spiros to enhance the letters in my layout title. I simply chose a font that had round capital O letters and then placed a String Art Spiro over each one. I rotated one of the spiros just a bit to offset the pins where the two letters meet. Depending on your font, you may need to adjust the kerning or tracking to get the look you want.

I hope you take some time to play with the
ScrapSimple Embellishment Templates: Spiros! We’d love to see your work in the
ScrapSimple Club Gallery soon!
 An Amazing Deal!
 If you were to buy all of the items in the club individually from the Boutique they would cost $19.15 and we offer it to you for just $6.99 a month!MONTHLY SUBSCRIPTION
 Want to save even more? Consider a 6 month or 12 month subscription. On the Club Product page in the Details section, choose your preferred subscription in the drop-down menu. Then click on the orange Add to Cart button.
 Article written by April MartellTutorial written using Photoshop CS6 with Windows 7


