

Step 1: Choose a Font, size, and color. Type out your word or title. The font I am using is Impact.
Step 2: Press Ctrl J (Mac: Cmd J) to duplicate the layer.
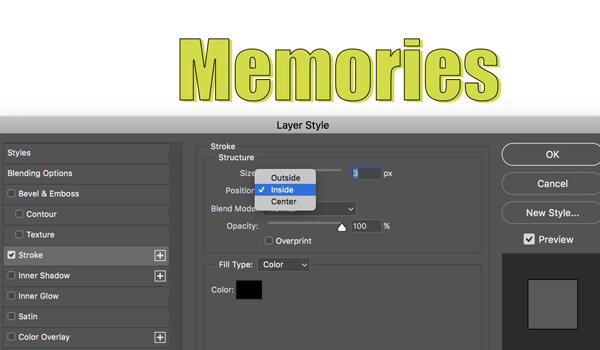
Step 3: PSE: In the Menu Bar, Choose Layer > Layer Style > Style Settings. (PS: Choose Layer > Layer Style > Stroke.) In the dialog box, check Stroke. Set the Width to 3px and the Color to black. Set the Opacity to 100%. (PS: Set the Location to Inside and the Blend Mode to Normal.) Click OK.
Step 4: PSE: Get the Horizontal Type tool. In the Tool Options, open the Style Picker, open the drop-down menu, and choose Visibility. Click on the Hide Style. (PS: In the Layers panel, set the Fill to 0%.)

Step 5: Get the Move tool. On the document, nudge the outline text up and to the left to give it an offset look.
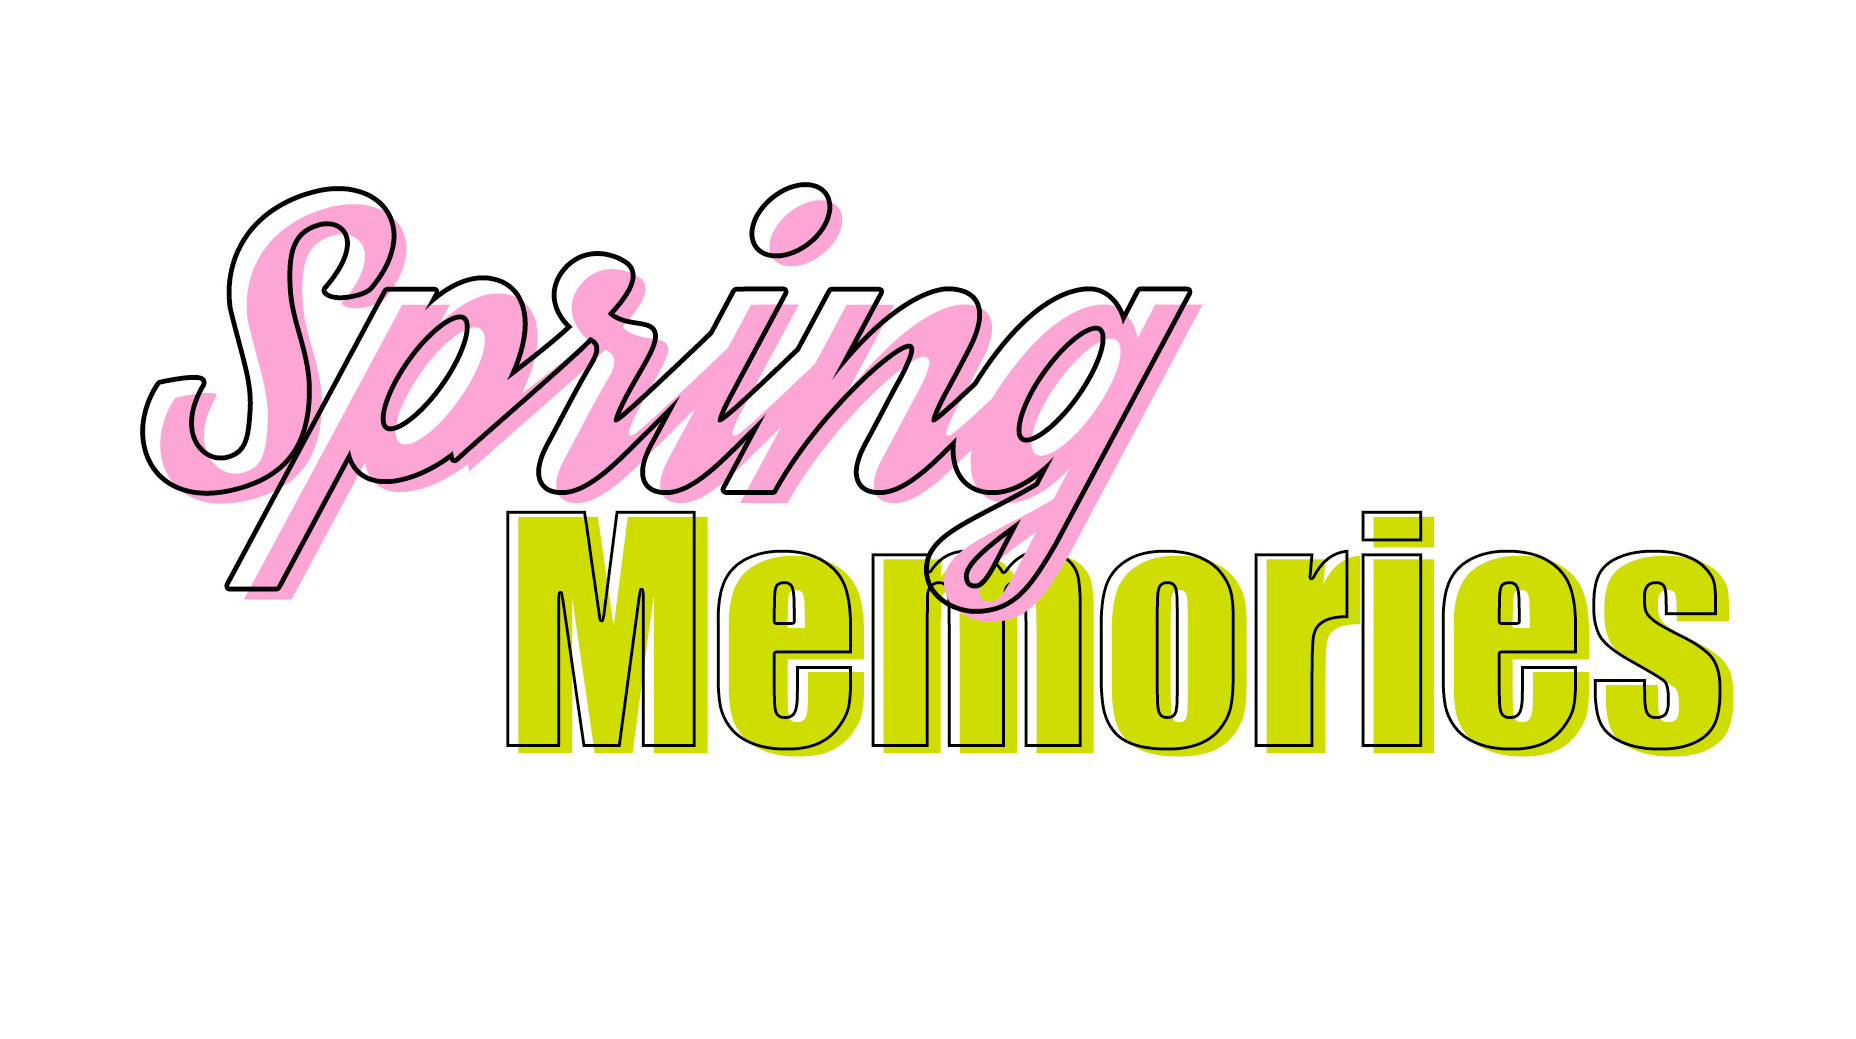
How easy was that? I LOVE techniques like this, they look great and are so quick to do! While it’s fun to try this technique out on fonts you already have in your arsenal, why not try them out on some of the fabulous alphas and alpha templates available in the Scrap Girls shop? Not to mention this works great with flat style embellishments and brushes as well!

Here are a few products that jumped out at me this week, some will work great with this technique – while others just shouted ‘hey’ to me!
I think Amanda’s layout templates would work great with the offset font technique!
(Click on the images below to be taken to the product page)

These alpha brushes would make a fun quirky offset title!

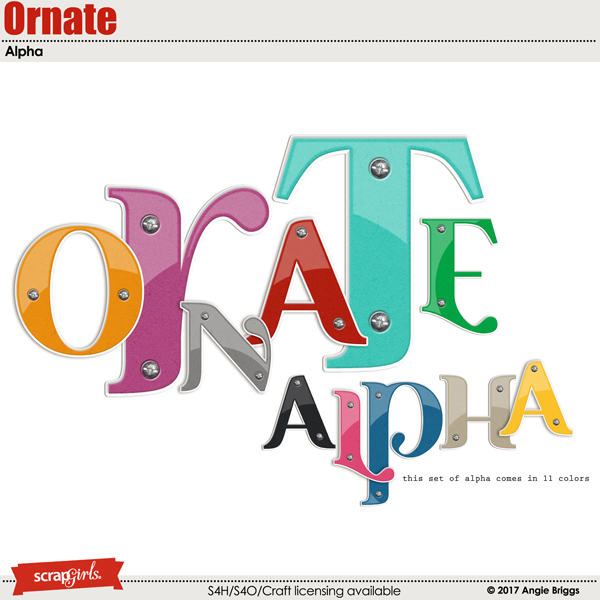
These alphas are just plain fun and are begging to be placed on a scrapbook page!
These Type Path templates would look great behind your offset title or pretty much anywhere on your page!

I hope this gives you some fun title ideas, and please share your offset projects in the Scrap Girls gallery so we can ooh and ahh!


