
Click below to download the FREE Easter Egg Shading Styles Set and eBook version of this tutorial:
[wpdm_file id=9]
INSTALLATION
To begin you will need to first install your Styles. There is a free book available at Scrap Girls that will give you easy to follow instructions on how to install your styles. Here is the link:
Scrap Girls ScrapSimple Instructions Handbook
INSTRUCTIONS
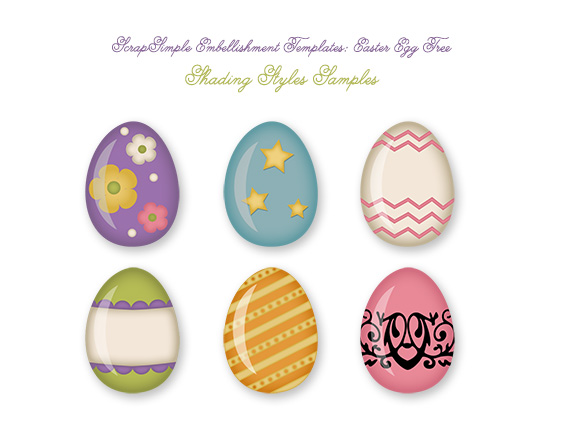
I have used digital scrapbooking templates from ScrapSimple Embellishment Templates: Easter Egg Tree but you can use any templates that you would like to add a more 3-D realistic look to.
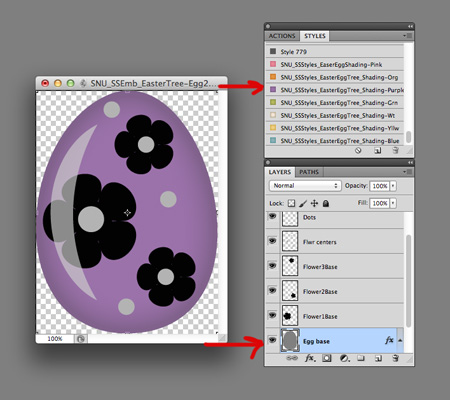
Open up one of the Easter Egg Templates.

Making sure that your Egg Base is selected in your Layers palette, choose one of the shading styles in your styles palette and click on it. (Photoshop Elements Users: Select the Style, then hit the Apply button on the bottom right of your effects panel.)
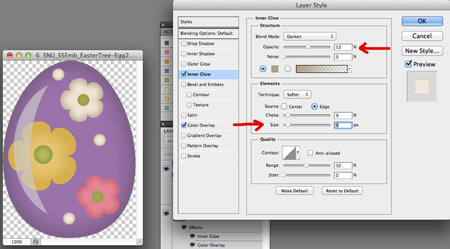
PHOTOSHOP USERS:
Now let’s add one of the styles to a flower on the egg. You will notice that since the flower is much smaller than the egg the shading doesn’t look right. That’s easy to fix! Click on the Inner Glow in your Layers Palette.
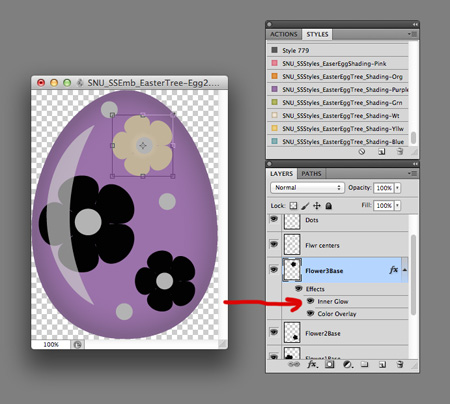
The Layer Style Inner Glow dialog box will pop up and now we can adjust the shading on the flower. Move the Size slider to the left to decrease the size of the shading until you are happy with the effect. You can also adjust the Opacity to your liking in this same window.

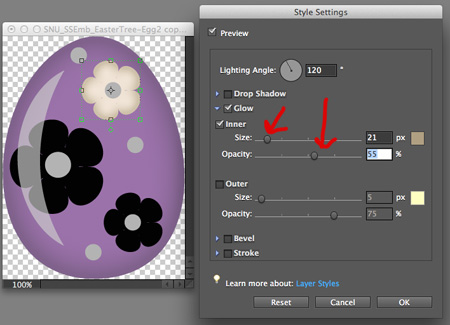
PHOTOSHOP ELEMENTS USERS:
To adjust the shading, double click on the fx next to the flower Layer that you just applied the style to and a dialog box will pop up.
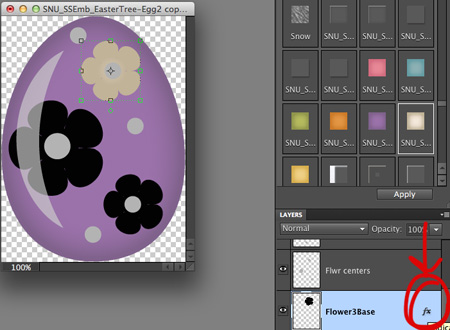
You can now adjust the Size of the shading by sliding it left or right. In this case I slide it to the left to make the shading area smaller. Then you can adjust the Opacity slider until you get the desired effect. Then hit OK.
PS & PSE: Do the same for all the small elements on the egg
PS:
One last step to give more of a ‘shiny’ look to our egg let’s adjust the Highlight. Click on the fx button on the bottom left side of your Layers Palette. Then click on the Color Overlay button, now click on the color box and choose white and click OK.

PSE:
Instead of applying a color overlay you can change the blend mode of your highlight by clicking on the Blend Modes arrow at the top left of your Layers Palette and scrolling down to Screen. Then adjust your Opacity.


Now with the Highlight layer still selected adjust the Opacity at the top right of your Layers Palette until you are happy with the effect. I usually lower it to between 45-55%. That’s it!
I hope you have fun playing with these styles, I really enjoyed creating them! Please remember that these are for Personal Use only.

Tutorial written by Syndee Rogers-Nuckles


