
Painters always sign their paintings. As a digital scrapbooking artist, you can also sign your page with an inconspicuous, embossed signature stamp. Follow along and you’ll see how fun (and easy) it is!
In this tutorial, I’ll show you how to edit this free PSD layered embossing stamp and add an embossing or letterpress Layer Style to it from the many that are available in our store.
To get started, download your free Embossing Stamp here: http://store.scrapgirls.com/Embossing-Stamp-Embellishment-Freebie.html


Once you have finished designing your scrapbook page, you can add your embossing stamp to the background paper as the last step. Be sure to save a little square for it in the bottom right or left corner of your layout.
In the Layers panel, select the layer you want to add the embossing stamp to, which is usually the background paper layer.
Open the Embossing Stamp Embellishment Freebie you downloaded above. Select all the layers by clicking on the top layer and Shift-clicking on the bottom layer. Drag all these layers across to your page and position them where you want your signature to be. All the layers are linked to prevent moving them individually and ruining the stamp.
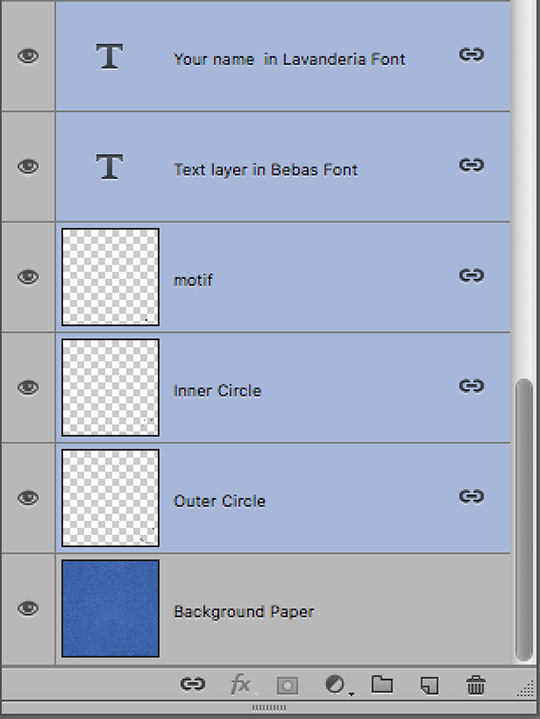
The top two layers of type are full editable. I used two fonts in this stamp, both of which are available on the Internet. Lavanderia is the font used for the name, and Bebas was used for the circular text. You can change the words or even the font if you wish. But in most cases, you’ll probably only want to change the name.
To insert your name, click the Horizontal Type tool. In the Layers panel, double-click on the thumbnail of the top layer (“Your name in Lavanderia Font”) to highlight it.
Type your own name and click on the checkmark in the Tool Options to accept the change.
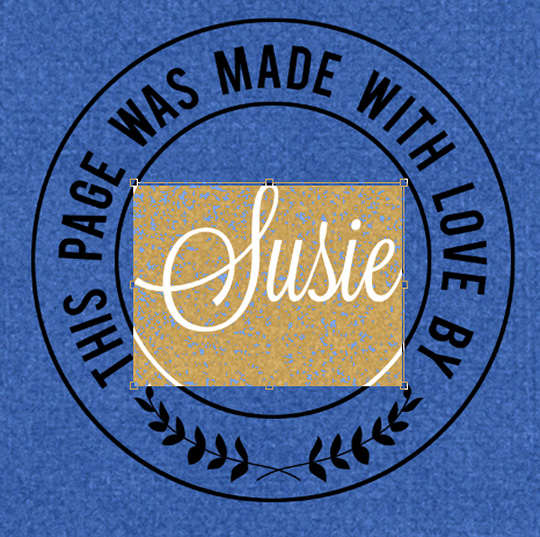
If you find that the point size of the font is too large, the easiest way to reduce it is to use the Transform Options. First, you’ll need to unlink the name text layer from the other layers by clicking on the chain link icon on that layer in the Layers panel.
After typing your name and accepting the change, press Ctrl-T (Mac: Cmd-T) to get the Transform Options. Press Alt-Shift (Mac: Opt-Shift) and click-and-drag down from a corner handle until your name fits inside the circle. Double-click inside the outline to accept the transformation.
NOTE: In Photoshop Elements, you only press the Alt key (Mac: Opt key).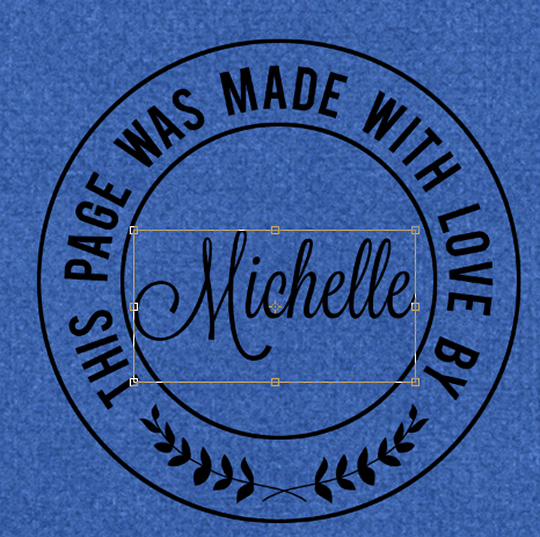
Repeat the above steps for the circular text, except you won’t be using the Transform Options to reduce the size. If you wish to type some text that needs more room, you’ll need to highlight the text first, then highlight the Point Size in the Tool Options. Press your down-arrow key several times until your text fits inside the circle comfortably.
Here’s an example of alternative text with a different name: Once you are happy with your stamp, merge all the layers. Go to the Layers panel and click on the top stamp layer, then Shift-click on the bottom stamp layer to select them all. Press Ctrl-E (Mac: Cmd-E) to merge all the layers together.
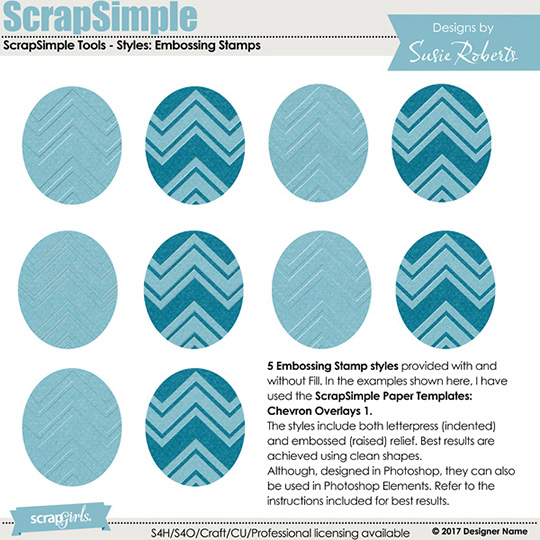
Apply an embossing style to your merged layer. I’ve used SRO_SSTools_Styles_EmbossingStamp_O1NoFill. This style can be found in my store here.
![]()
Other embossing and letterpress styles in our store:
ScrapSimple Tools – Styles: Letterpress 6301
ScrapSimple Tools – Styles: Embossed 6301
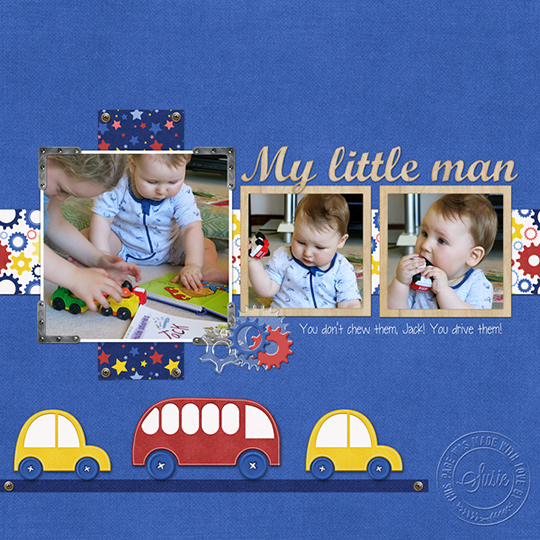
We like to think that our scrapbooking will leave a mark on those who follow us by recording important family memories and events. But now, with this free digital embossing stamp, you can leave your special mark on every one of those family treasures! Be sure to show us your embossed stamp the next time you post a layout in the Scrap Girls Gallery.
Digital scrapbooking supplies used:
ScrapSimple Tools – Styles: Embossing Stamps
Embossing Stamp Embellishment Freebie
![]()
 Tutorial written by Susie Roberts


Great tutorial and thank you for the freebie