

There is a small boutique in my community that sells flavored balsamic vinegar, flavored olive oil and specialty gift items. When you purchase something your items are wrapped in tissue paper and placed in a nice craft bag with the store logo stamped on the front. Since I cannot bear to part with them, I have a small collection of these bags in my gift bag stash.
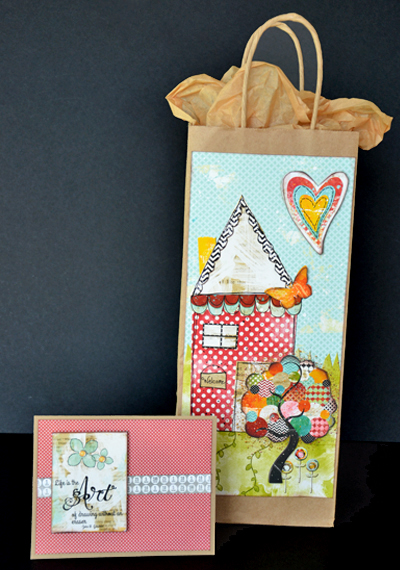
I thought it would be fun to create personalized printable gift bags using my Scrap Girls digital scrapbooking products, my recycled bags and some other inexpensive bags I found for purchase. Once the digital scrapbooking layout was complete, it was easy to create a coordinating gift tag, gift card or greeting card for each bag.
Digital scrapbooking supplies used:
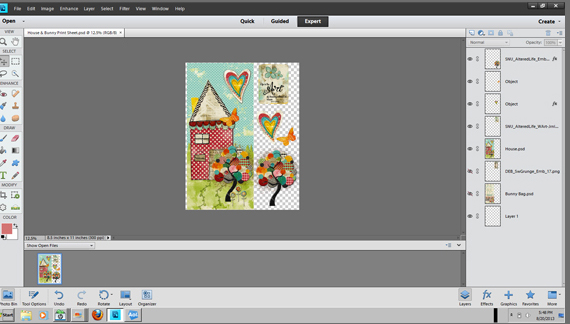
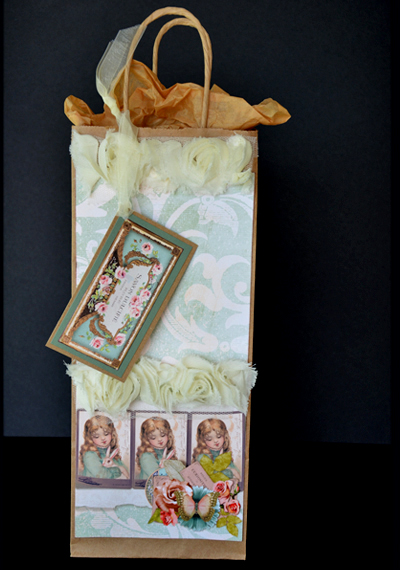
Altered Life Digital kit
Altered Life Digital Embellishment Mini
Sweet Grunge Digital kit
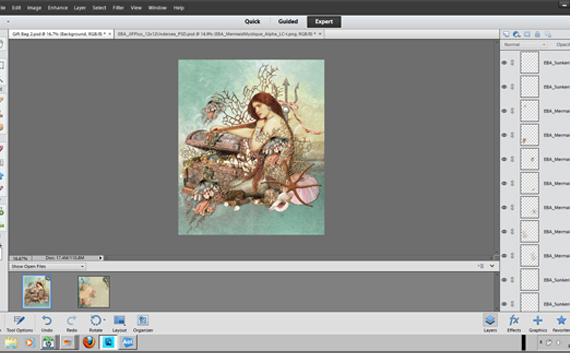
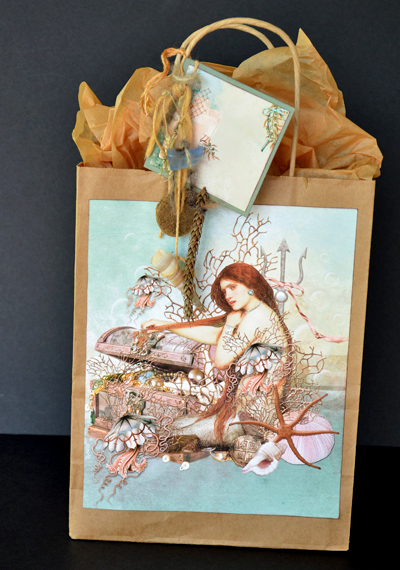
Value Pack: Mermaid Mystique Digital kit
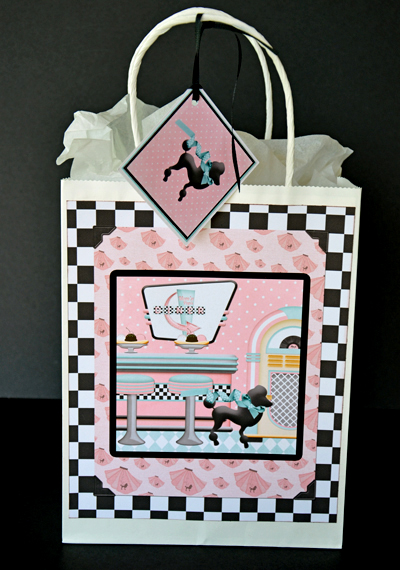
Mom and Pop’s Diner Digital kit
ScrapSimple Tools – Actions: Mega Lift Squared
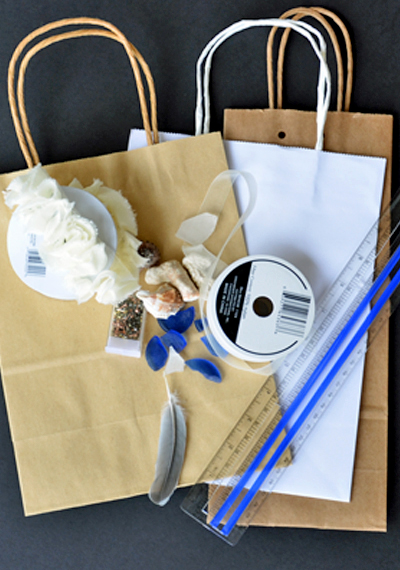
Craft supplies used:
Scissors, paper cutter, bone folder
Paper – Double sided Matte Photo
Adhesive – two sided tape, dimensional adhesive
Embellishments – printed digital embellishments, brads, lace, fibers, ribbon, sea glass, shells, other found items.
Solid colored gift bags
Distress ink
Instructions
Step 1 – Measure the front of gift bag.
Step 2 – Open a document in your Photo Editing Software slightly smaller than the dimensions of your bag. Create a digital scrapbooking layout.
Step 3 – Create coordinating small tag, small folding gift card or simple greeting card in your Photo Editing Software.

Step 4 – Open an 8 ½ x 11 inch document to create a print sheet. Drag digital scrapbooking layout(s) and desired digital scrapbooking embellishments onto print sheet. Print. Cut out.
Step 5 – Ink edges of printed items with distress ink. Embellish your layouts with brads, lace, digital embellishments, etc as desired.
Step 6 – Adhere two sided tape to all edges of the layouts for gift bag. Place a small piece of two sided tape in the middle of the layout. Remove the protective covering from the center piece of tape. Center on the bag. Once the placement is correct remove the protective covering from the tape on the sides and adhere firmly to the bag.
Step 7 – Embellish and assemble gift tag, gift card or greeting card.
Next time I need a gift bag I will not have to leave the house. I can create one using my Scrap Girls digital scrapbooking supplies and my little stash of solid bags. We would love to see how you use your digital scrapbooking supplies to create your own gift bags. Post them in the Scrap Girls Hybrid Gallery.
Live each day creatively,
Karen

Tutorial written by Karen Webb


