Every Christmas holiday I have the same dilemma. Where should I display the Christmas cards our family and friends have sent us? And what do I do with them after Christmas is over? This year I have a plan, that is not only fun to make, but great for displaying! Let me show you what I decided to do!
Digital scrapbooking products used:
Value Pack: North Pole Friends
A Christmas to Remember Collection
ScrapSimple Tools – Styles: Basic Shadows
Supplies used for Christmas Card wall display:
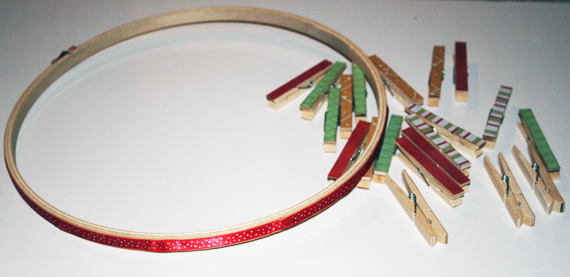
Embroidery Hoop-I’m using a 12 inch hoop
Wooden Clothes Pins, the Spring Kind- I’m using 20
Ribbon
Glue and Glue Dots
Distress Ink (optional)
14 inches of ribbon for hanger
Bow (optional)
Supplies used for mini album:
Chipboard-Size will depend on your largest card
1 inch Album Rings
Double Sided Tape
Hole Punch
Tyvek Envelopes
Ribbon or other embellishments (optional)
Distress Ink (optional)
Let’s get started with creating card displays!
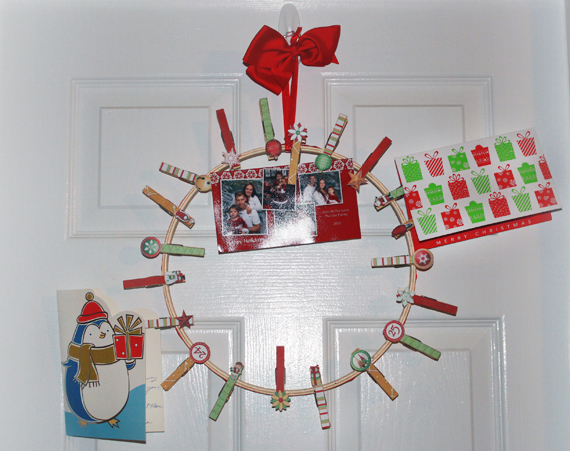
Wall Display
Step 1 – The first thing I did was tighten my embroidery hoop as tight as I could. I don’t want the two pieces coming apart! Then I glued ribbon around the side edge of the hoop.
While the glue dried, I opened my scrapbooking software and chose 4 digital scrapbooking papers and printed them out. I cut 5 strips of paper, 2.875 inches by 0.375 inches from each paper. I used distress ink to ink the edges and then glued them on my clothes pins.
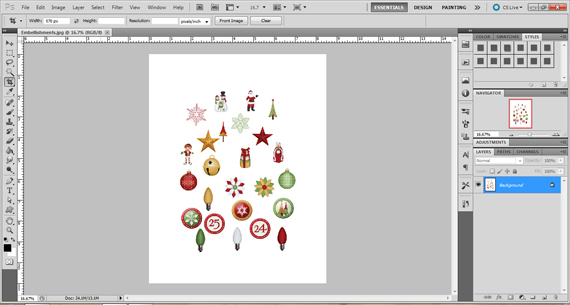
Step 2 – Next, I chose 20 embellishments to add to my clothes pins. In my scrapbooking software, I adjusted the size of each embellishment so that the longest side was around 1 inch. To do this in Photoshop CS5, I chose Image>Image Size. I chose the longer side and changed that value to 1.0 inches. The other side automatically adjusts because the two values are locked. Then I added all my newly adjusted embellishments to one letter sized document. Now you could print them out and hand cut them all, or you could save the document as a png. file and use your Silhouette to cut it out, which is what I did.
Step 3 – After cutting out the embellishments, I attached them to the end of each clothes pin using glue dots. The embellishments are small, so that seemed like the easiest way to attach them.

Step 4 – I arranged the clothes pins in a circle and planned out how I wanted it to look once glued to the hoop. With that planning done, I picked the clothes pin in the 12 o’clock position of my circle and glued it to the hoop. I used little plastic tops to support the pin so it would stay flat instead of bowing in. I glued the pins at 3, 6 and 9 o’clock next so that my spacing will be fairly even. These pins are positioned so that the cards will be pinned inside the hoop, while the other pins will face the opposite way and the cards will be pinned outside the hoop.

Step 5 – Then I glued the rest of the pins facing outward and let it dry overnight. I used a 14 inch piece of ribbon as a hanger and added a premade bow at the top. Lucky for me, my family received 3 Christmas cards in the mail today, so I was able to add them right away!
But what do I do with all the cards after the holidays are over? I decided that a mini album was the way to go! And I thought of a way to add those cards without damaging them with holes! Let’s get started!
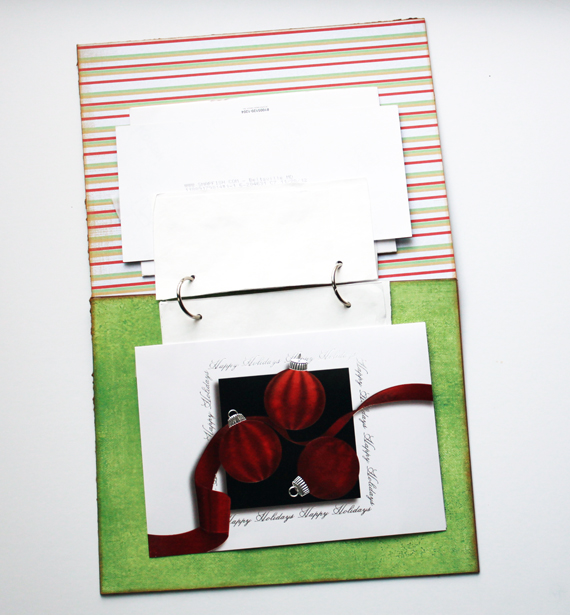
Christmas Card Mini Album Display
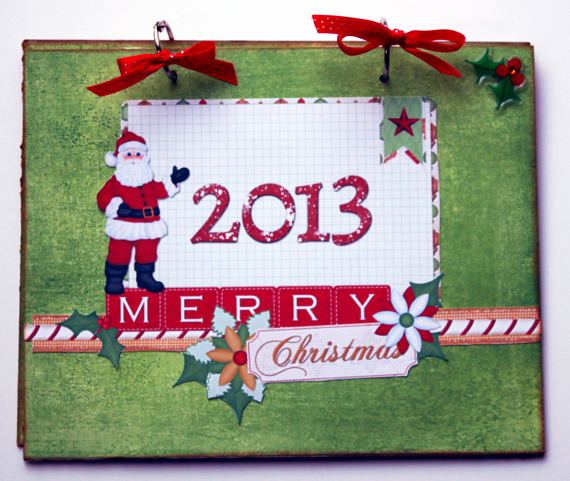
Step 1 – The first thing to do is decide on a size for your mini album. Most cards are 5×7 inches, but there are 4×8 inch photo cards. Since I’ve already received some of each, I’m going to make my album 8×10 inches, with the width being 10 inches wide. So I opened my software and created a new document that size and created the cover for my album.
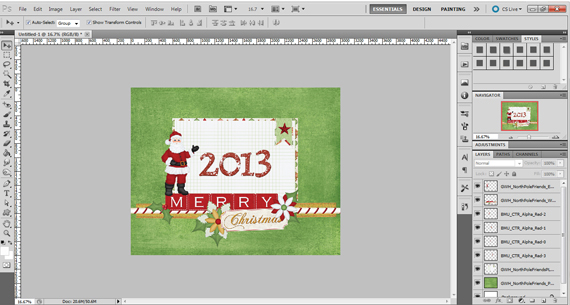
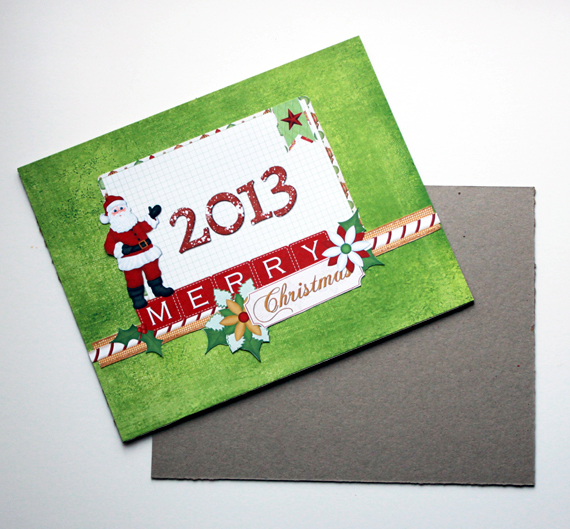
Step 2 – I printed out my cover embellishments as one piece and my green background separately. Then I attached them with my tape gun. Then I cut my chipboard to 8×10 inches and attached my background paper to it. I printed 4 pieces of background paper so that all 4 sides of the chipboard were covered. Finally, I inked the edges for an aged look.
Tip: Don’t have any chipboard? Cereal boxes make a great chipboard and you are recycling!
Step 3 – After attaching my background papers to the chipboard and any embellishments for the cover, I turned to the Tyvek envelopes. I cut 6×3 inch long strips of the envelope. You’ll need one for each card you plan to put in your album. Once cut, I punched holes 1 inch from each side and 1/2 inch down from the top. After that, I punched holes in the top of my cover and back. I centered the Tyvek strip on my chipboard, lining up the top edges, and used the holes in the Tyvek as a guide.
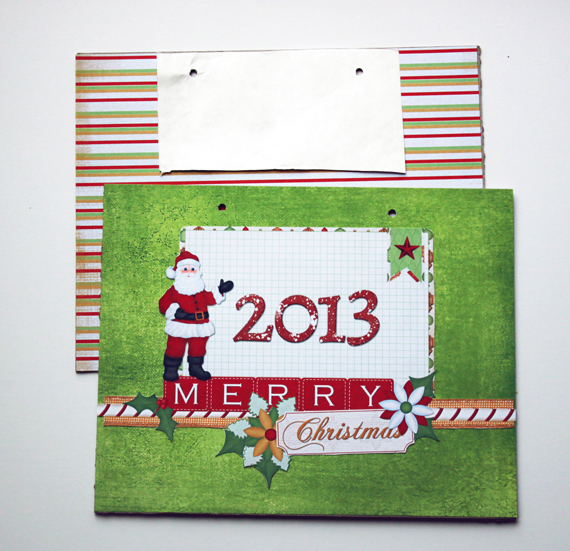
Now that all the holes are punched, you can add your metal rings and your album is ready for your cards!
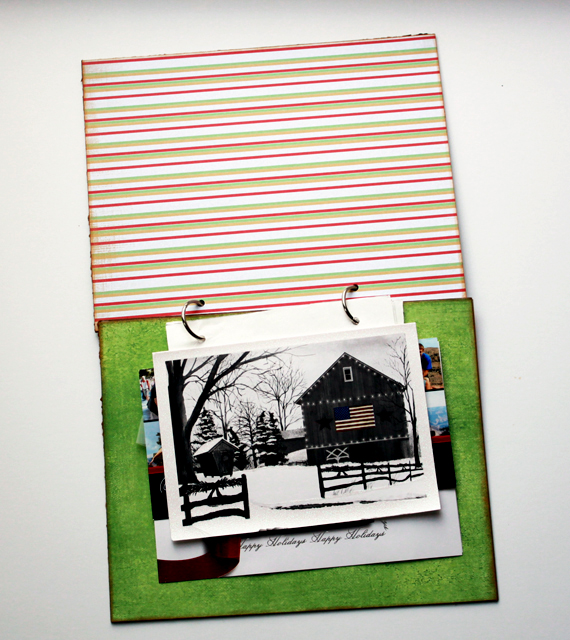
Step 4 – To attach the cards, simply use some glue or double-sided tape to attach the back of the cards to the Tyvek strips. Start with the smallest cards in the front and larger ones in the back. This will make it easier for you to browse through your album. I’ve attached 3 cards from 2012 as an example.