
As I was browsing through my local office supply store, I stumbled across some clear window decals for inkjet printers that I could run through my printer and add to my windows, doors or other smooth surfaces. My mind exploded with ideas! Since the 4th of July is right around the corner, I decided to decorate my table for the holiday. In this tutorial, I’ll show you how easy it is to use your digital scrapbooking kits to make window decals for any occasion and some cute napkin rings to match!
Digital scrapbooking supplies used:
American City Collection
America Collection Mini RETIRED
Value Pack: Freedom RETIRED
Supplies used:
window decal paper for inkjet printers
cardstock
printer
scissors
your imagination!
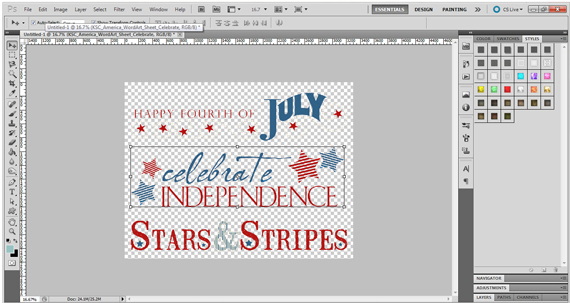
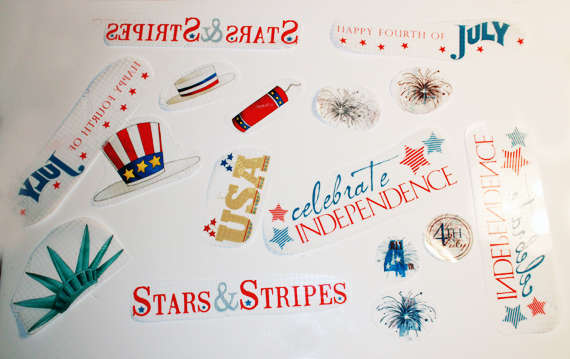
Let’s start with the window decals. Because the window decal paper is 8.5×11 inches, I opened a new document that size in Photoshop, with a transparent background and 300 dpi. I searched my digital supplies and found embellishments and word art that would look great on my windows and sliding glass door. I fit as many on the document as I could, leaving some space around each element for cutting.
Before I talk about printer settings, it’s important to do a little planning. When your word art is displayed on your window, do you want the words to be readable from the inside of the house or the outside? If you choose to display them so they can be read from the outside, you will need to flip your document horizontally so the words print out backwards.
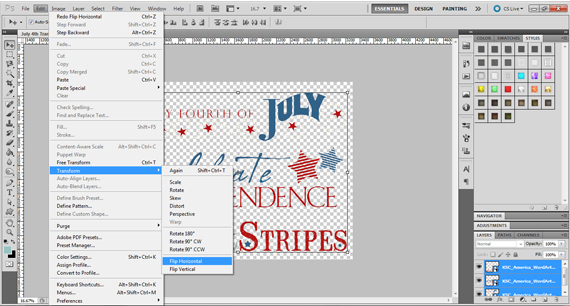
I choose to do it both ways, so I’ll print one document for the inside and one for the outside.
Here are some tips I discovered for printing. I set my printer paper type to transparency. The directions that came with the window decal paper recommended using the highest quality print setting. When loading your printer, you will want to print on the clear side of the decal sheet. I found that my printer couldn’t detect the decal paper when I only put one or two sheets in the printer tray. If I loaded plain printer paper under the decal paper, the problem was solved (I have a bottom feed printer). Once the decal paper prints, let the ink dry completely before trimming!
Once dry, trim your embellishments and word art, leaving at least half an inch border around your word art and embellishments.
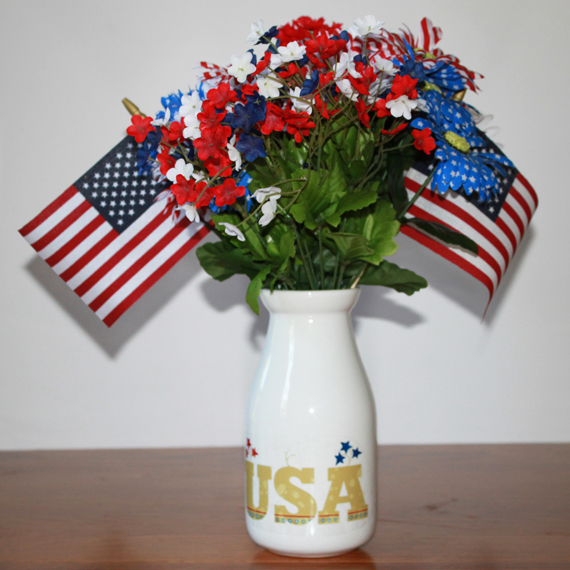
Peel off the backing and attach to the window, vase, or any smooth surface!
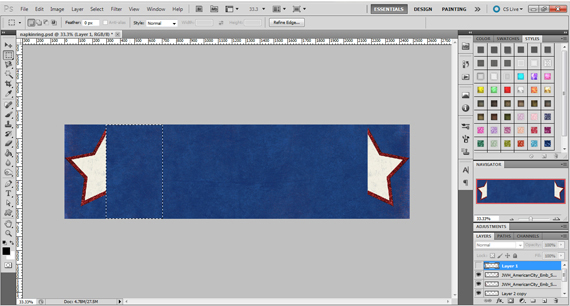
Now, for the napkin rings. Open a new document in your photo editing software, 8.25 inches long x 2.25 inches wide, 300 dpi. Fill this document with your digital scrapbooking paper. Next, pick a symmetrical embellishment for each end of your document. I choose stars, but you could pick a heart, a circle, or anything else as long as it’s symmetrical. Place your embellishment on the left side of your document, all the way to the edge, and increase the size to fill the document from top to bottom. Then “erase” the right half of your embellishment. I used the rectangular marquee tool to select the half I wanted to erase and then deleted it.
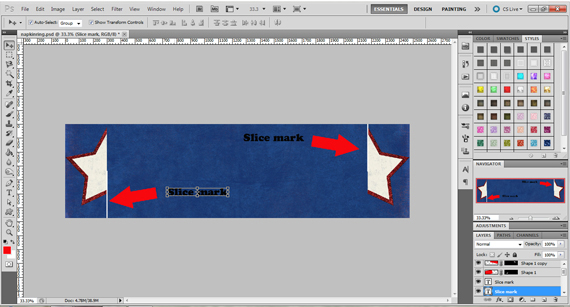
Duplicate your embellishment and flip it horizontally. Move it to the far right side of your document. Next we need to mark where to make our slices. On a new layer, choose a small, round brush, about 3-5 px. Starting on the left hand side of your document, draw a line from the bottom of your document to the middle, following along the middle of your embellishment. Repeat this step on the right hand side, starting at the top of your document down to the middle. I used white for my slice marks so that when my napkin rings are assembled, the white won’t show as much inside the white star. You can use any color you would like, or skip this step if you can cut it from sight.
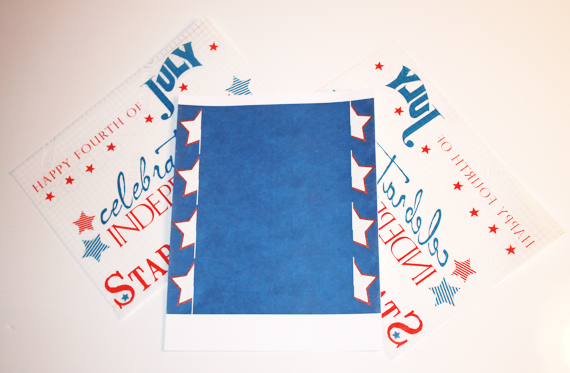
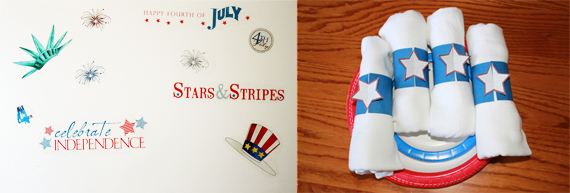
I saved my document as both a layered file and a flattened jpeg. Then I opened a letter sized document and added 4 copies of my napkin ring jpeg to it. Since I have 4 place settings, I need 4 rings. I arranged the layers for easy trimming and printed it on cardstock (as shown in the photo with the window decal word art). I cut out the napkin rings into rectangles. Then I cut around the edge of the star on each side. Last, I cut my slices into the ring.
Bend the ring and interlock the slice marks. You should have a completed embellishment that stands up a bit from the ring. If the two halves are not lining up, you may need to cut your slices a little bit more.
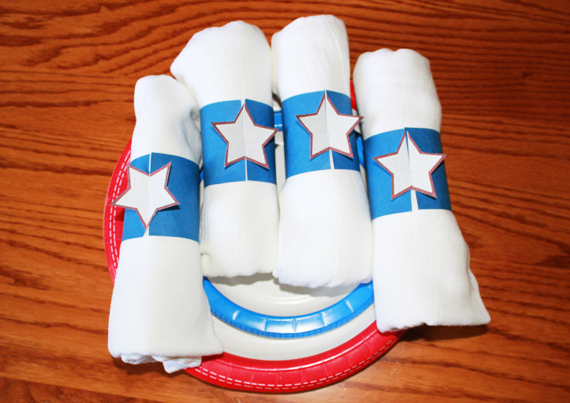
Now you are ready for your very own 4th of July party! You could use these same techniques for a birthday party, graduation party, or any holiday! The possibilities are only limited by your imagination!
We’d love to see what you create! Post your finished projects in the Scrap Girls Hybrid Gallery. Have fun!

Tutorial written by Carla Shute


