Templates. Some people love them and some people hate them. The reason for the latter, I believe, is that some scrapbookers find templates rigid – rigid in that they don’t meet the scrapbooker’s needs and rigid in that they stifle creativity. People who love templates have discovered what I’m going to share with you today. Templates are merely a guide. They are not set in stone and they are changeable! I wrote an article about this exact subject
here. If you want to use the template as is, then please do! If it isn’t quite right for you, then customizing layout templates is easy!
If you have a template with four picture places and you have five photos, add a space. If you have six picture places and only five photos, remove one. If the page faces the wrong way for your photos, flip it. If the photo spaces are landscape and you need portrait, rotate the template. The rules for templates are just like in the movie “Fight Club”: Rule 1 – There are no rules.
Here are some examples of ways that I’ve customized some layout templates to fit my needs.
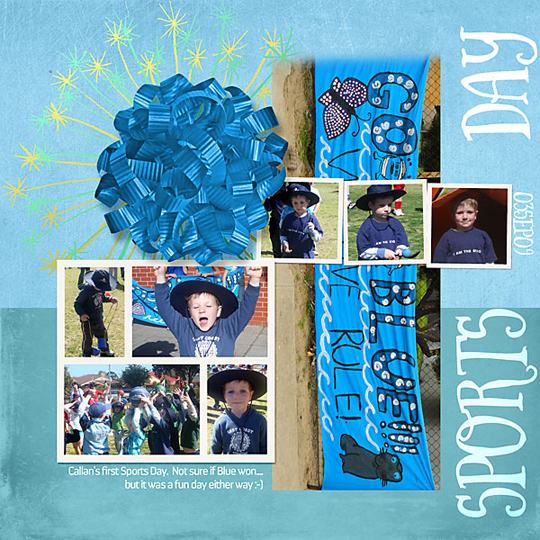
Example 1:

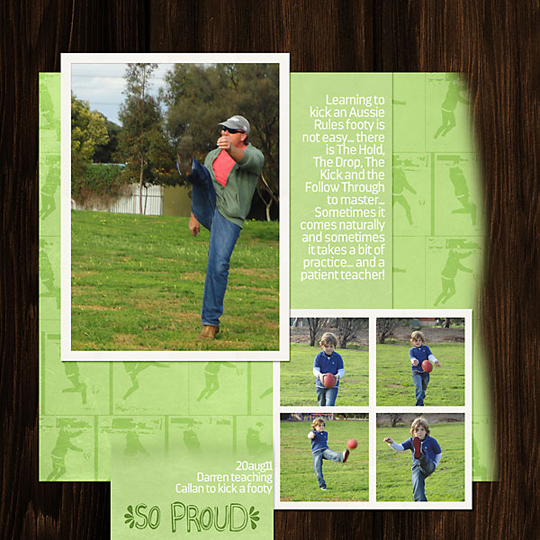
In my version, I rotated the template 90 degrees and then flipped it horizontally. This gave me the bigger photo space at the bottom and allowed the smaller frames to run horizontally rather than vertically.
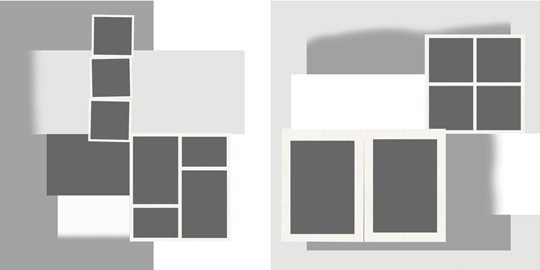
 Example 2:
For this example, I adjusted the photo spaces to suit my needs:
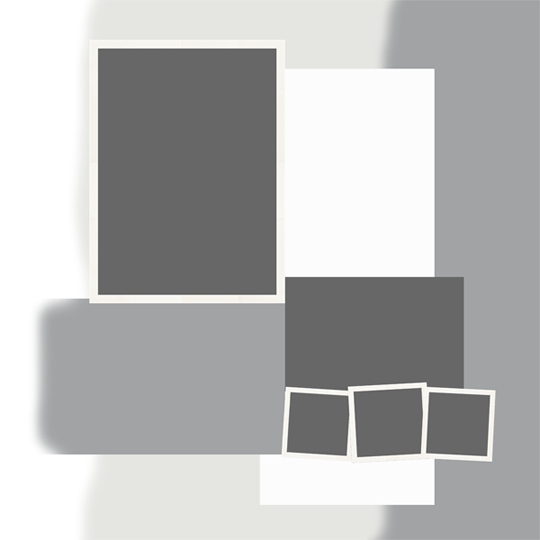
I had one large photo to use and three supporting smaller ones, so by adjusting the template, I was able to make my larger photo a focus and bring the smaller photos up a little.
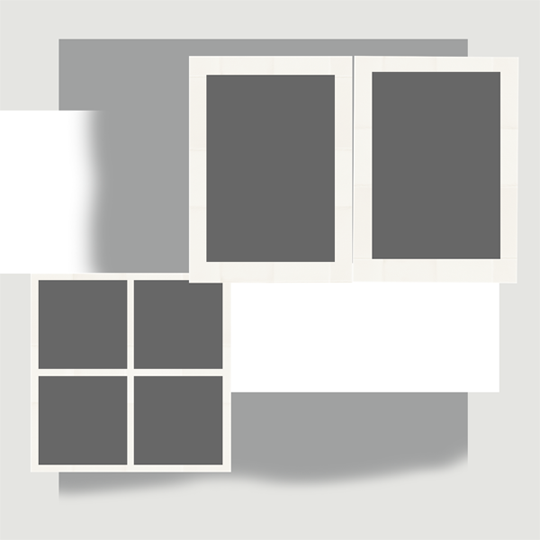
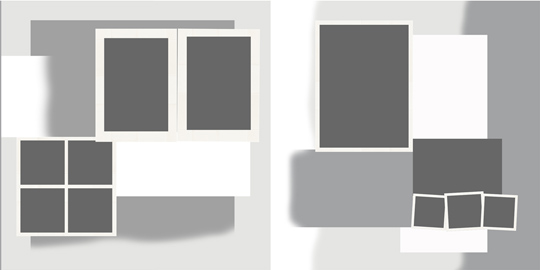
 Example 3:
My final example involves a substitution for the two larger photos with one larger one and a simple rotation.
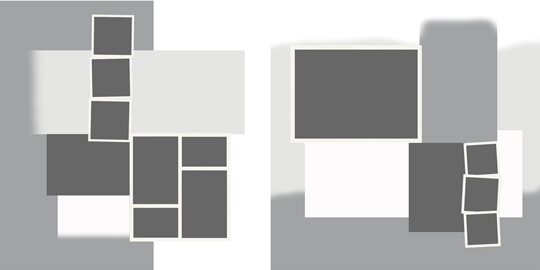
Swapping pieces from one template to another gives you extra scope and variation in the number of photos you can use. You could easily copy the other multi-photo frame from Example 2 to have a personalized eight-space template. This is a great trick to remember when you need a different size or shape template than the one you are adjusting – it’s easy to pull in one from a different template.
Not only are photo spaces able to be swapped and whole page rotated and flipped, individual pieces can also be adjusted in this way. For instance, you could use the background from one page and add the photo spaces from another. It’s easy to add extra paper pieces and adjust them as needed.
Another way to make templates work for you rather than against you is to switch things up a little – photo frames do not have to hold photos. They can hold embellishments or papers or be completely substituted with a large title or another embellishment. Blended paper pieces can be used for photos. Remember the first rule of templates? There are no rules!
It would be super easy to make a quick album following these ideas. I find multi-photo templates are wonderful if I’m making a travel album and want to keep my pages similar but not identical. With a simple rotation or flip, I have a cohesive album with little fuss! This is a great hint for granny’s brag albums, too!
On a final note, don’t limit yourself to just single pages either. Double pagers are easily customized by adding two singles together and adjusting as required.
In these examples I didn’t add or remove anything, just rotated and flipped until the pages were balanced and I had space for journaling and a title. These could be a great starting place for next year’s Project 52!
By using these simple tips, you can quickly and easily create customized layout templates that suit your style and requirements. I did a quick calculation and without swapping a thing, I came up with 24 different templates! Once you start swapping frames and paper pieces, the combinations are mind boggling!
Have some fun! Mix things up a bit! Embrace templates and let them unleash your creativity, not fight it. And if you get stuck, refer back to Rule 1.


 Tutorial written by Jody WestTutorial written using Adobe Photoshop Elements 12 with Windows 7


