I really been enjoyed working with the wonderful blender masks by Angie Briggs found in her ScrapSimple Paper Templates: Capturing Life Blenders. They look great as backgrounds with colors and patterned papers clipped to them. That, of course, didn’t stop me from making changes to them for my layouts! Here are some easy ways I customized her blender mask templates to fit my needs.
Rotation
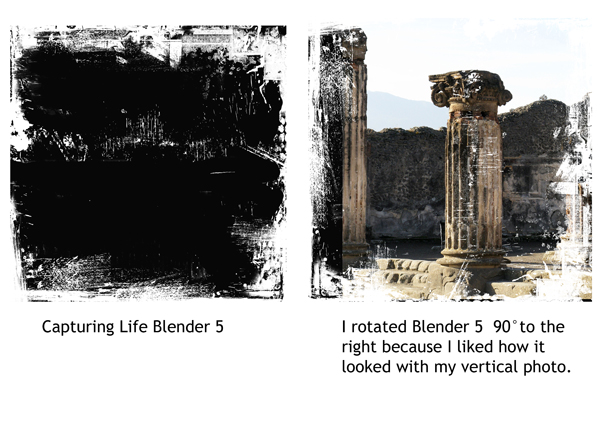
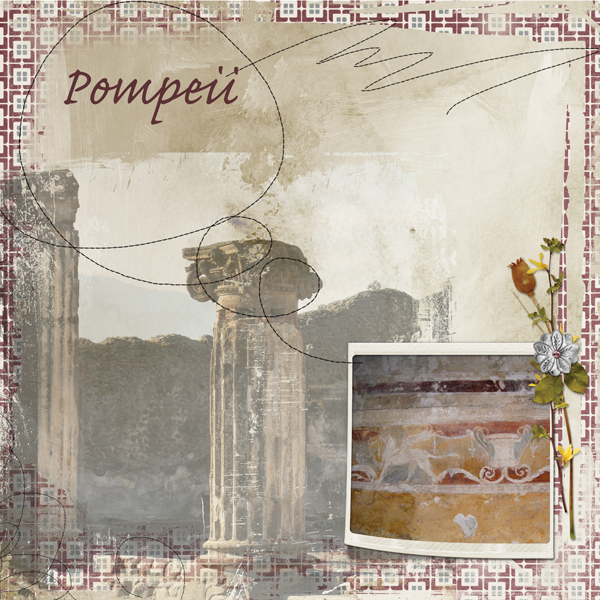
For my sample layout, I rotated the original blender mask by 90 degrees to the right because I liked the way the rotated design looked with the vertical lines of my photo.
You don’t want to distort the mask, but you can resize it to fit your photo or your page design. For my layout, I reduced the photo and the mask to 75% of their original size.
Adjusting the Opacity
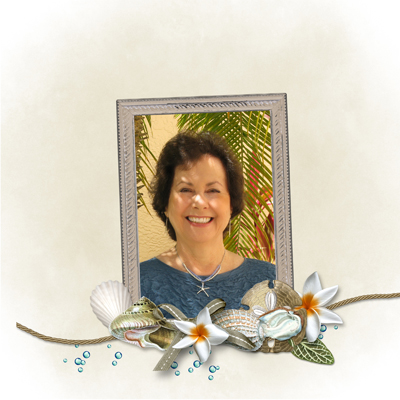
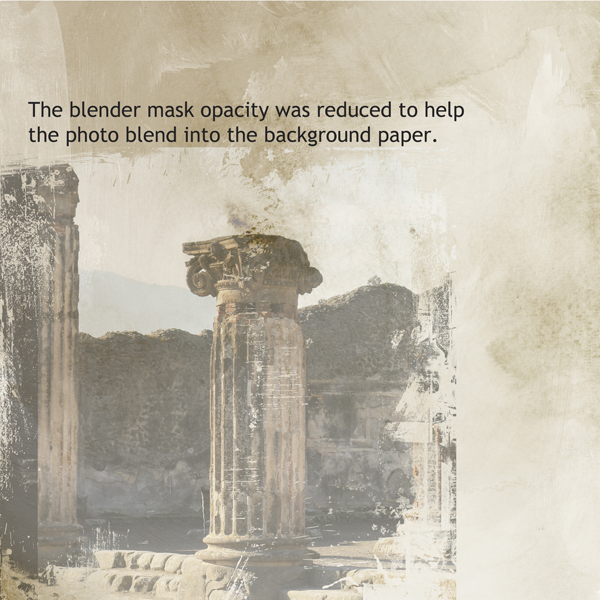
An easy way to blend a photo into a background paper is to clip the photo to the blender mask and lower the opacity of the mask until the photo fades into the background. In my layout, I lowered the opacity of Blender 5 to about 45%. This technique works when blending papers together, too, so it’s not just for photos.
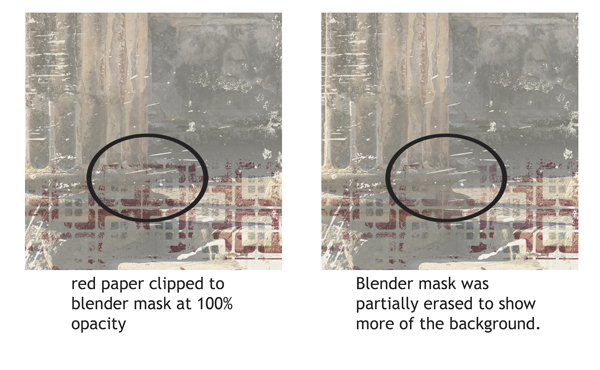
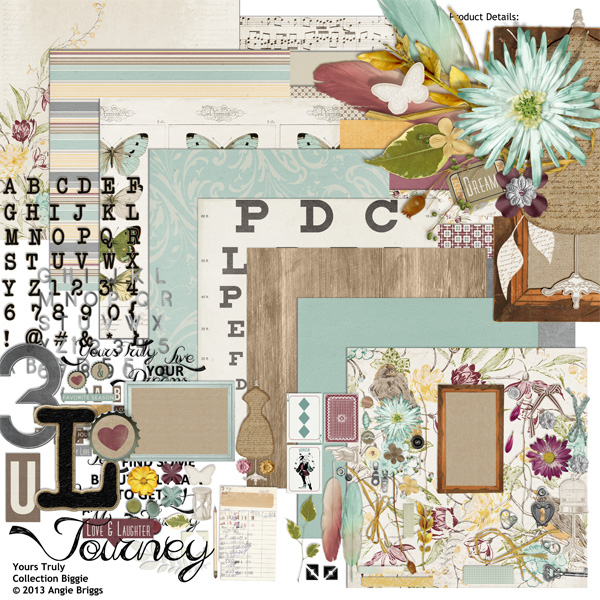
I clipped a red-patterned paper from the Yours Truly kit to the blender mask to make a border for my layout. Using a soft eraser at different opacities, I erased small parts of the blender mask where I wanted more of the background to show through.
Digital Scrapbooking Supplies Used:
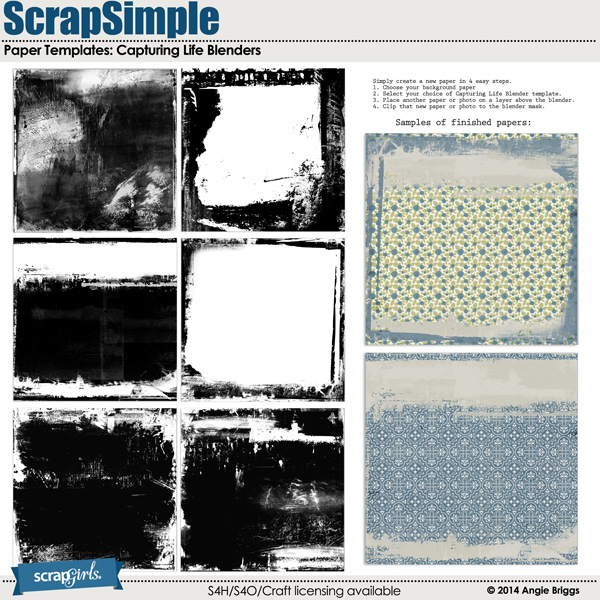
ScrapSimple Paper Templates: Capturing Life Blenders
![]()