
I am a huge fan of dry erase boards! My kids love to use them to color on, keep lists and reminders. I would be lost without my dry erase calendar! But they are so boring to look at! So, I decided to make a new printable one and dress it up, Hybrid Style!
Supplies:
digital Scrapbooking Supplies
a picture frame-I used a 4X6 and 8.5X11 in.
printer
adhesive
scissors or cutter
optional: Paint and sealant
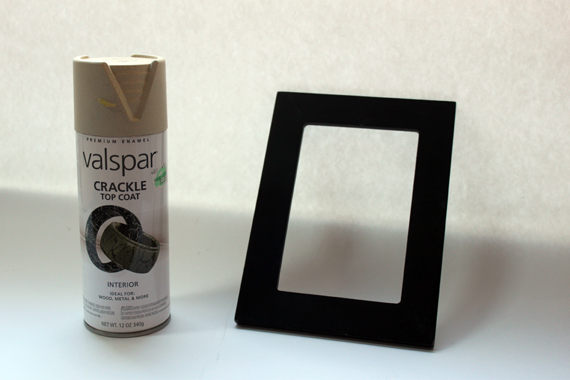
Let’s get started! I used a black 4X6 in. frame with a wide frame and used a beige crackle paint to cover the black. I followed the directions on the crackle paint can to achieve the desired results. After the two coats were dry, I finished the frame with a coat of clear sealant to help protect it.
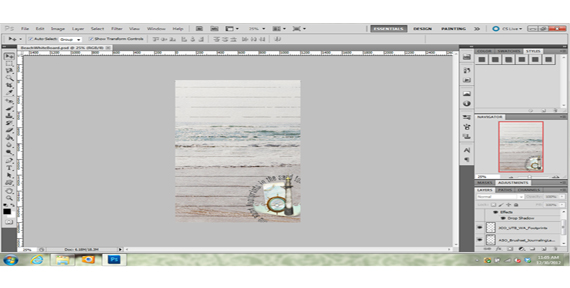
While that was drying, I got ready to create the background for the dry erase board. I opened up my scrapbooking software and created a new 4X6 in. document. I started to create the background using my digital scrapbooking supplies. I wanted to keep it light in color and not too busy so that the writing on the top would show. I choose a beach theme since I plan to give this to my mother and she loves the beach. I thought it would look nice on her desk at work in the cold winter months in New York! Once I finished the document, I printed it out using a matte paper.
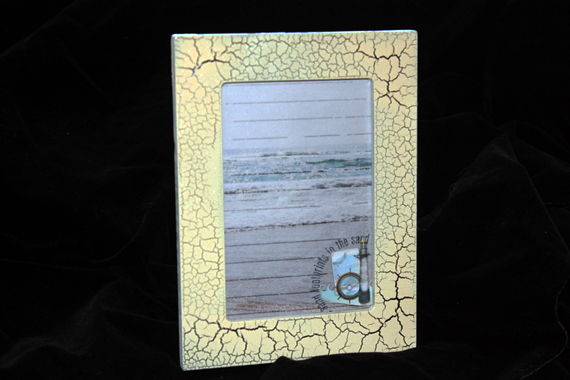
 Once the frame was dry, I add my document to the frame.
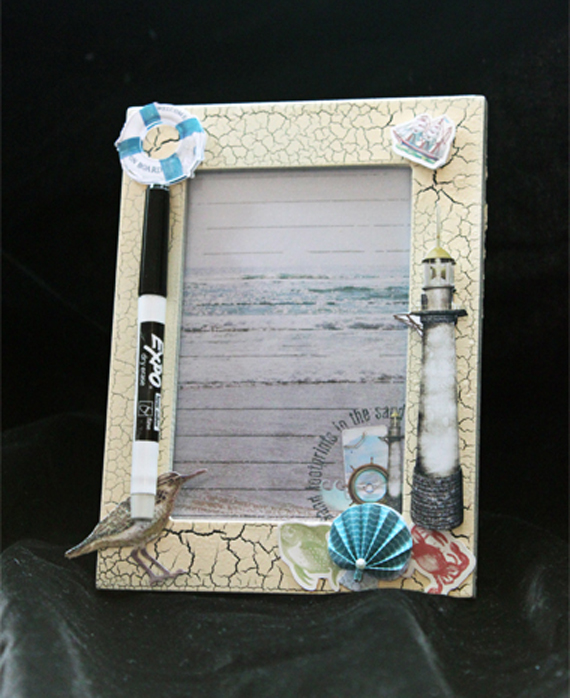
It is looking much better, but still needs some embellishments! I choose some beach themed digital embellishments from Kerry Veale’s Seaside Collection Mini and Jo Corne’s Under The Boardwalk Collection Biggie. I printed them out and used my Silhouette SD to cut them out. I used glue to add them to the edges of the frame, along with some paper embellishments I had on hand. I added a dry erase pen and Voila!
I was so excited with the results, that I decided to make a new dry erase calendar! I found some frames at my local craft store that are made for your refrigerator. I chose the 8.5X11 in. because it’s the biggest size my printer can print. I opened a new document in that size and began to create the calendar. I wanted to include a calendar grid to the layout. There are many products in the Scrap Girls Boutique that include blank calendar templates. I used Melissa Renfro’s ScrapSimple Calendar Templates: 8.5×11 Clipboard Perpetual.

I printed out the finished document using the borderless setting on my printer. I inserted it into the frame and my new calendar was created!
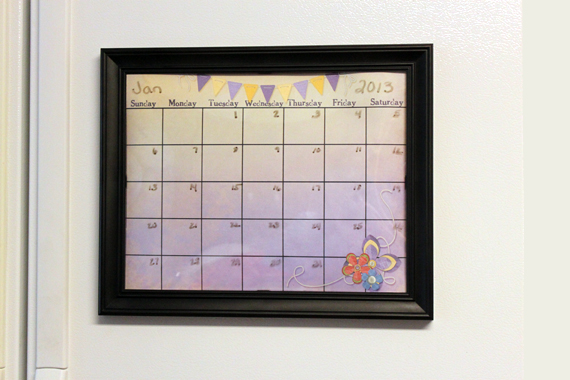
Now I have a fun, colorful dry erase calendar for my refrigerator to replace the old one we’ve used for 18 years! And the best part? I can change the calendar any time I want by creating a new document and sliding it in the frame! I’d love to see what kind of dry erase boards you can dream up! Show us what you create by uploading a photo of your creation to the Scrap Girls Hybrid Gallery. Have fun creating!
Digital scrapbooking supplies used:


Tutorial written by Carla Shute


