
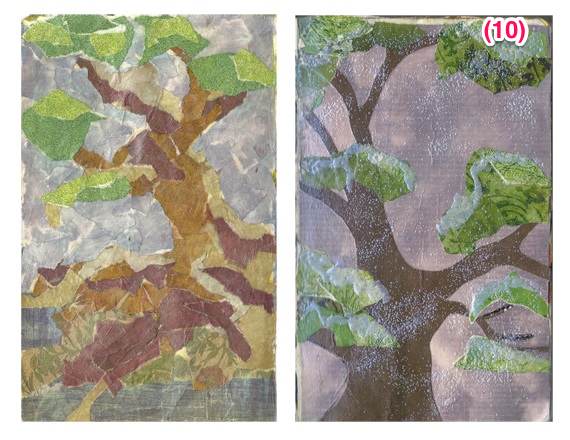
Our Journey begins with learning a basic collage technique called “painting with paper”…along with performing a little experiment! (turned out to be 2 little experiments!) We will be creating 2 collages using some of the same patterned papers, printed on 2 different types of paper! (That’s where one of the experiments comes in!) Both collages will be complete in their own right, but the differences will be amazing!
Collage #1, on the left, papers were printed on regular copy paper. Collage #2 on the right, papers we’re printed on Magic Matte.
 Begin with selecting a bunch of different papers from your Scrap Girls stash. Since I have decided to create a tree, my color choices are browns, greens and blues (for the background). This photo shows you the browns and 1 blue that I used (1), but I also put together a green and blue sheet for the sky and leaves.
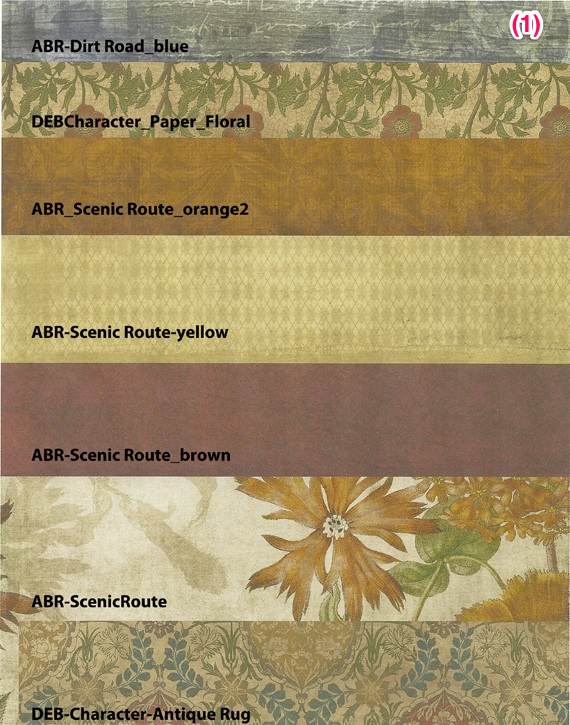
Since I am working in my Moleskine journal, I really don’t need large quantities of 1 paper, so was able to get all the tints & shades of 1 colorway on one page.
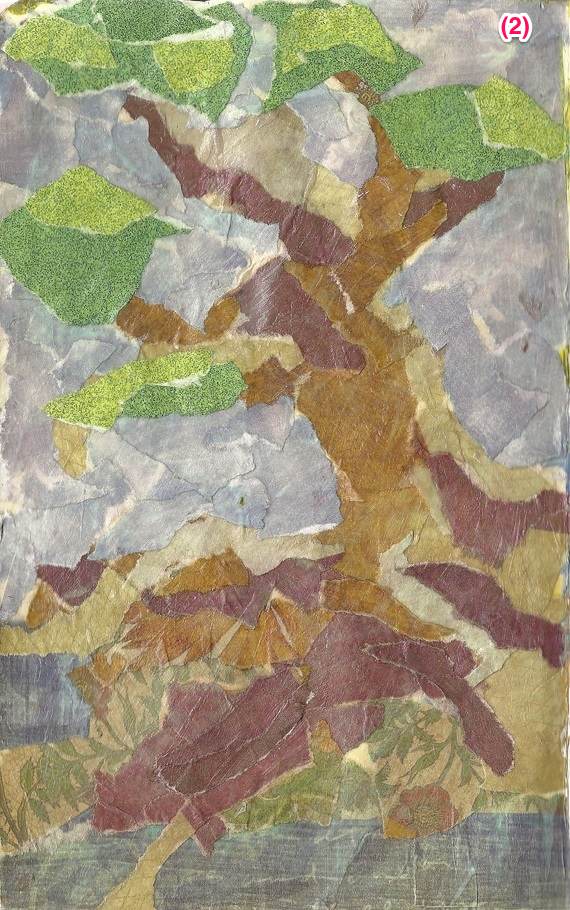
The 1st collage:
Print your papers on regular copy paper.
I am using Golden’s, Soft Gel Gloss as the adhesive.
I like to give the journal page one good coat of the soft gel gloss medium before I start to apply the paper. It’s not really necessary, I just feel better about the protection of the base journal page. Start ripping small pieces of paper from your printed sheets and apply them to your journal page by brushing the gel on the journal page, then placing the paper on it. Brush the gel over the applied paper, the repeat and repeat and repeat until you have a design that you are happy with!
Collage #2:
Print your papers on Magic Matte 27lb or 36lb weight available here:
http://www.dotcalmvillage.net/artpapers.html
In this collage, I chose to not be as “free form” as in the 1st collage.
First, I sized my sky background paper (BMU_View_Paper_Skyblue) to my journal page measurements. Not caring about the distortion.

Then I found a Scrap Girls paper template of a tree Design Pack: Family Branch and sized it to fit the page, again not caring about the distortion. There are 2 branches with leaves on them that I don’t want.
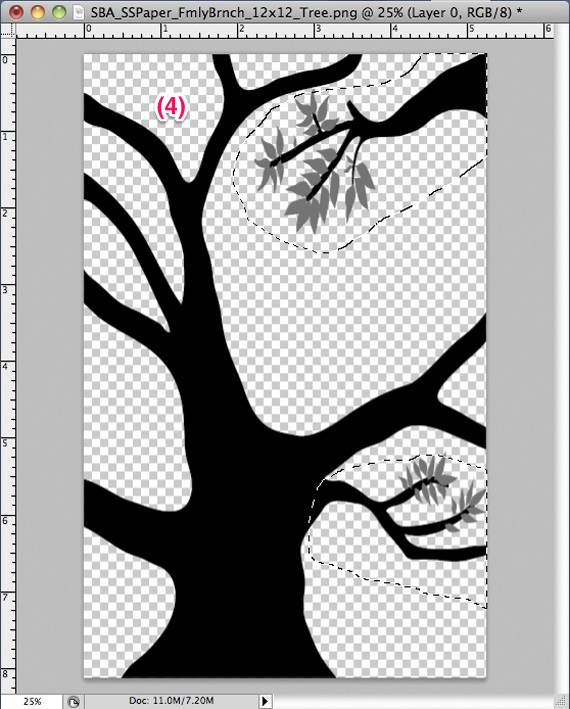
This is what I did to get eliminate them: Using the lasso tool, I drew around the top branch, double clicked to activate the marching ants, then holding down the shift key, I drew around the bottom branch, double clicked to activate the marching ants again. When I hit delete, the 2 branches were gone. Then I clicked on Select, then deselect….the marching ants vanished! I opened up and resized a brown paper that I had used in the last collage, brought it over to the tree file making sure I placed it on top of the tree layer.
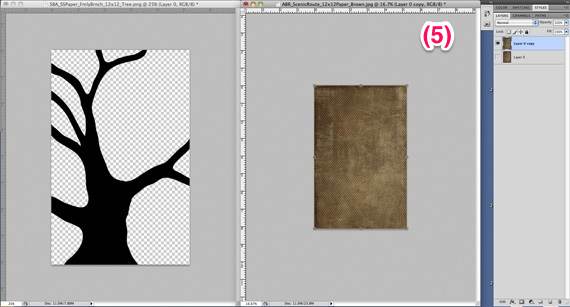
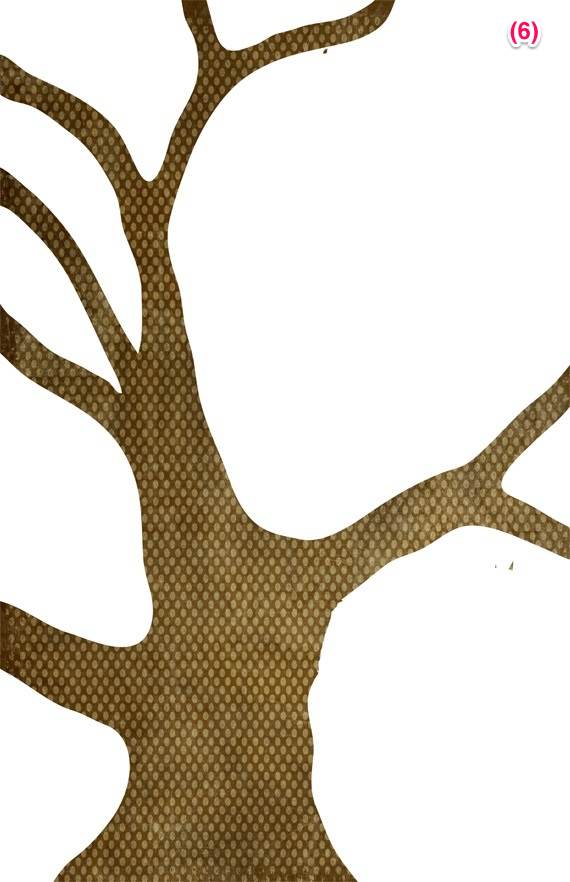
Click on Create Clipping Mask in the layers palette and this is the result:
Open a new document, 8.5 x 11 inches. Bring your sky and the tree over then print it on Magic Matte.
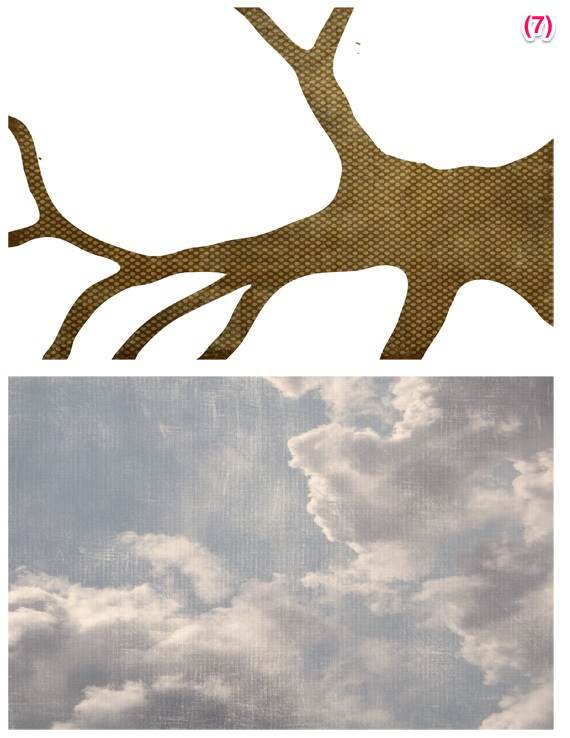
Print the greens on Magic Matte also. Now it’s time to start assembling your design.
I cut out the sky background and used Golden’s Soft gel gloss to adhere it on to the page. NOW IF I HAD MY THINKING CAP ON…..
I would have placed some green pieces on next for leaves behind the tree, but I didn’t; so my design will be kinda-sorta one dimensional. (BUMMER!) I then cut out the tree and gelled it on the page. Now you can tear and piece to your hearts content for the leaf clusters. Looking at my finished piece, I wish I would have added more to mine!
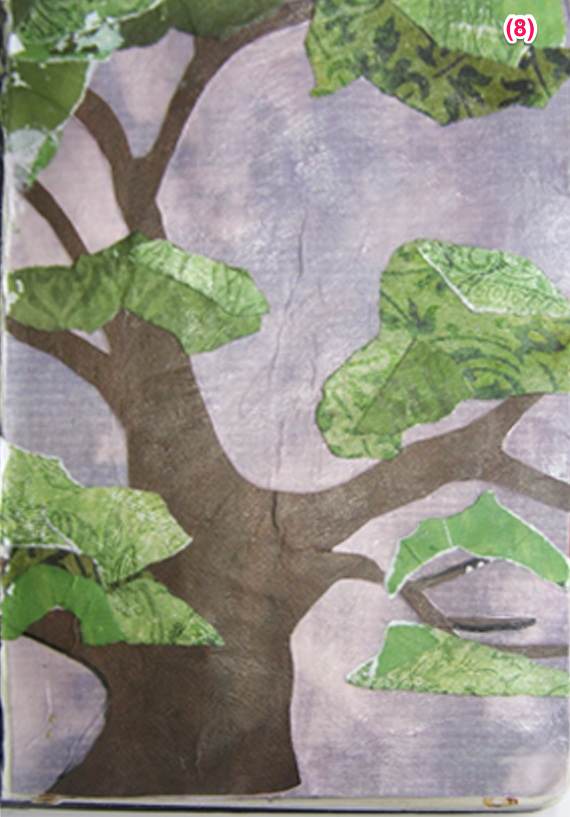
If I didn’t “jazz” it up at the end, I could have added more.
The “jazz” part:
While the final coat of gel was still a little tacky, I decided to try another experiment. This could have been disastrous, but worth a shot at greatness! I got out my Versa Mark embossing marker, some embossing powder and my heat gun. I scribbled on top of the leaf clusters, sort of like snow. Then sprinkled the embossing powder over, and then tapped off the excess. I held my breath and turned on the heat gun, not knowing if the gel would bubble up and burn…..WOW! It worked!
WooHoo! Next, I wanted to add more, like snow falling. I was more than pleased with the result and can see a gazillion possibilities for the future!
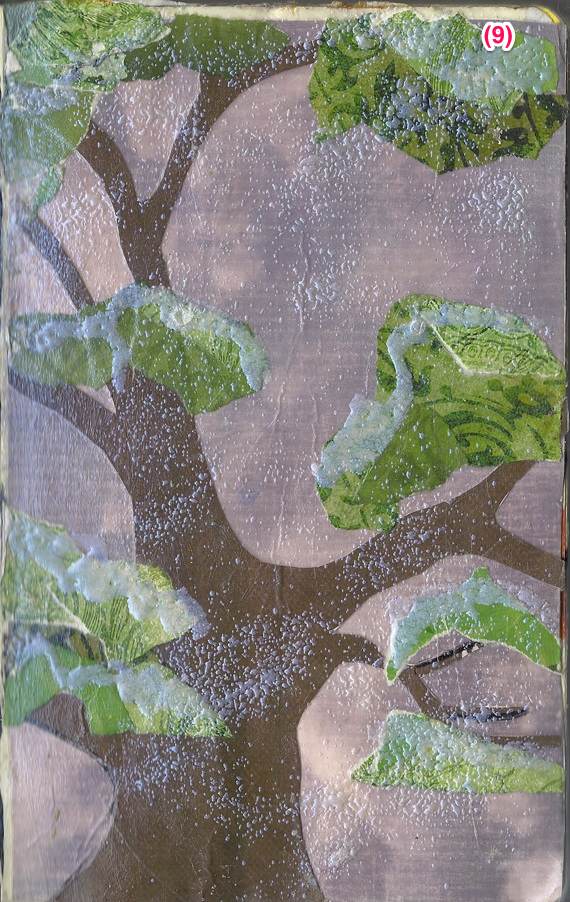
My thoughts on the 1st experiment…the comparison of printing on regular copy paper versus Magic Matt:
The inks on the copy paper bled, softening the edges and somewhat colorizing the rest of the design. To me, it does seem a tad blurry. The inks on Magic Matt remained sharp and clear, no color bleed, and a truer color representation.
For Collage 102, we will learn my favorite background technique, then put what we learned today to fabulous use!
Have fun playing and don’t forget to post your results in the Scrap Girls Hybrid Gallery!
SEE YOU NEXT TIME!
Jerrie
P.S. While surfing the net for Collage in Moleskine Art Journals, I came across a wonderful blog.
http://thelastdoordownthehall.blogspot.com/
The artist, Elizabeth Golden, graciously has given me permission to post this photo of her Moleskine art journal, filled to bursting with collages! Go for a visit that will be a feast for your eyes!

Also, make sure to check out this Painting on Paper blog; I am absolutely AMAZED at this artists’ work!
http://elizabethsthilairenelson.blogspot.com/
Tutorial written by Jerrie Hall


