
There are a lot of tutorials out there telling you to apply a Blending mode to different elements to achieve different looks. You can find charts showing what each of the different modes do, how they interact, etc. All of that is out there.
But the fact is, when the scrapbooking muses hit, I don’t want to go looking for charts or instructions. I just want to make something beautiful!
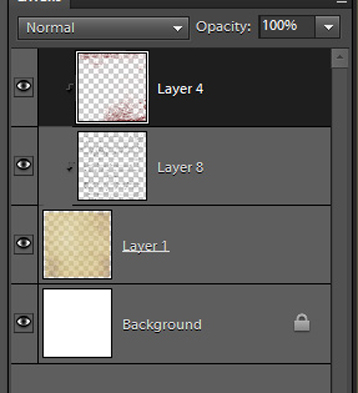
The simplest explanation of Blending modes is this: they change the way two (or more) layers look when they are stacked on top of each other. Different modes produce different looks. Different color combinations produce different effects. You can blend one picture layer into another copy of the same picture, intensifying the colors. You can blend a picture into a background paper, making the picture look like it is actually part of the paper. You can blend premade papers together. Or, like with this month’s ScrapSimple collection, you can blend textures and grunge and handwriting scraps and all sorts of interesting things into just about anything – pictures, premade papers from other collections, solid blocks of color.
Hints:
Mix up the colors
Black and white don’t blend very well. If you are trying to combine several ScrapSimple Textured Overlays to create a paper, take a minute to recolor each one first. I like to play with outlandish colors that don’t have anything to do with the color scheme I am planning to actually use for my paper. Red for one layer, lime green for the next, etc. Contrasting colors create more interesting blends. Darker or lighter colors work better with different Blending modes, so experiment!
In this example, I changed the Textured Overlay to red. With the Blending mode changed to Exclusion, when paired with the yellow paper below, the overlay turned a subtle teal color. I ended up liking it so much, I based my whole color scheme on it. Happy accident!
Now, I know what you’re thinking: Why not just change the ScrapSimple Textured Overlay to teal to begin with and skip the Blending mode step? Because layers that are blended together look more like the same layer than two layers stacked on top of each other.
The layers on the left have been blended together. The layers on the right have only been recolored. Pretty big difference, right? The left example just works better together.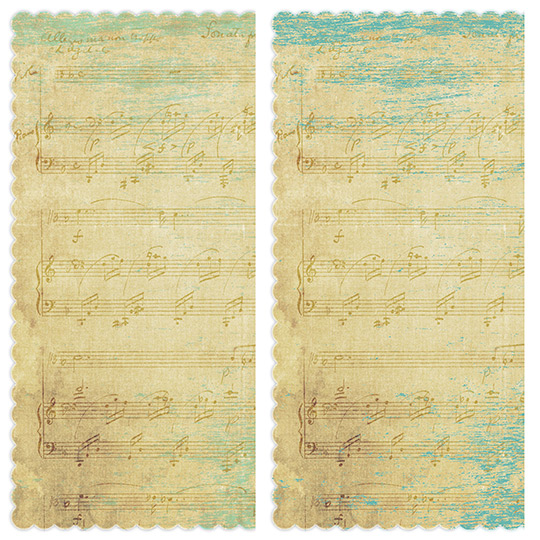 Scroll through the Modes
Don’t just stick to Overlay and Soft Light. Use the up and down arrow keys to scroll through all of the modes. You may be surprised. Some of the other modes can have some cool effects.
Reduce the Opacity
Once you’ve changed the color and scrolled through the different Blending modes, play with the opacity. An effect may be overwhelming at 100%, but at 25%, it may be exactly what you need.
The layers on top are at 100% opacity. The layers on bottom are 50% opacity.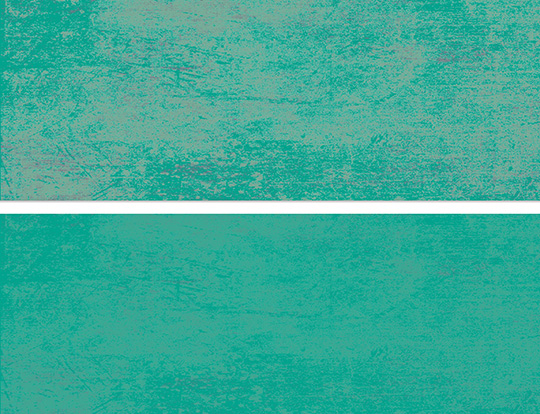
Layer, Layer, Layer
Adding lots of different textures and grunge make for interesting papers. Especially if you are starting with a solid color layer, add several different ScrapSimple texture layers to get some depth to your paper. Rotate the layers. Resize them. Use different colors on each layer so they add more texture as you blend. Keep playing and experimenting!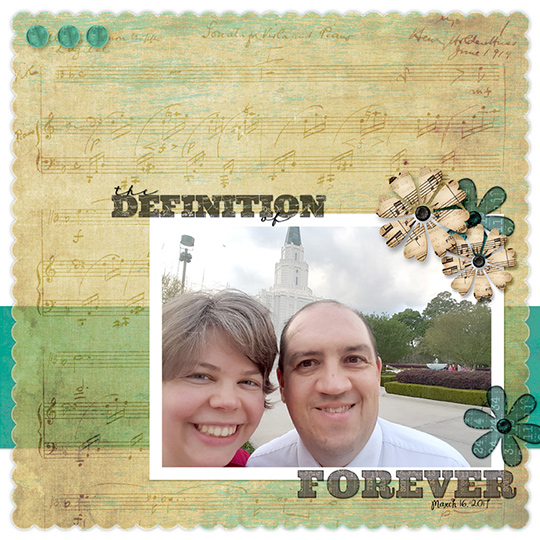 That’s it. Really. There isn’t anything magical or mysterious, and definitely not anything scary about Blending modes. So the next time you see a tutorial that mentions changing the Blending mode, jump right in and give it a try. You’ll be amazed by the results.
![]()
 An Amazing Deal!
If you were to buy all of the items in the club individually from the Boutique they would cost $19.15 and we offer it to you for just $6.99 a month!
MONTHLY SUBSCRIPTION
![]()
![]()
 Tutorial written by Anna Mansfield


