One of the biggest questions I had when transitioning from a preprinted planner to my customized planner was how to choose a binding method. After researching, I found the options are numerous and varied – book, comb, or spiral bindings; ringed binders; disc systems. If that wasn’t enough, there are other considerations: binder sizes, hole configurations, binding machines, and hole punches. You can do it yourself or have your planner commercially bound. With cost and flexibility in mind, I asked myself:
- Could the pages be removed, reordered, replaced?
- Did the finished product open and lay flat?
- Where was it being used? (purse, counter, desk)
- How was it being used? (daily planning, a journal, fitness)
- What special equipment did I need? (hole punches, machine)
- How durable should the cover be?
- How many pages did it need to hold?
1. I found three binding methods that work for most applications:The first option is spiral-wire binding. Unless you’re going to use this method a lot and want to invest in a binding machine, take your completed planner pages to an office supply store for punching and binding.
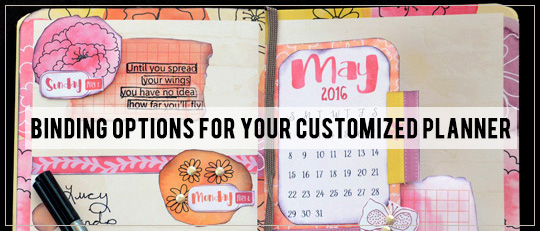
2. The second option is a blank, premade journal. Create and print stickers from Scrap Girls printable planner products to enhance the blank journal and make it your own. This option also lets you design custom pages for events or tasks as you need them and insert them into your premade planner.


3. The third option is a three-ring binder. It doesn’t require a lot of tools, and the binders are inexpensive. Pages can easily be added, moved, or removed. Resizing your customized pages is super-easy with Scrap Girls Printable Planner products.

To help with placement, create a binder template in your digital software program. Measure page size, hole placement, and margins. Print a test page, punch holes, and adjust as needed. Since my binder is small, my pages are 5×8 inches. My 8.5×11-inch binder template is set up for two pages. (The template pictured is available above as a FREEBIE!)


