
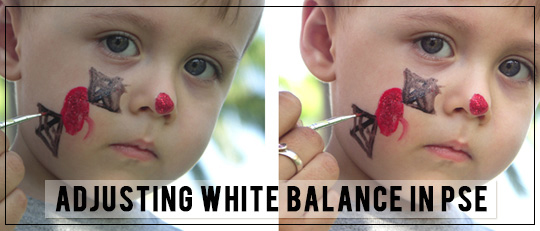
Dark photos seem to be a fairly common occurrence at least in my world! But it’s such an easy fix in Photoshop Elements as well as Photoshop! We will be adjusting the White Balance in the Levels panel to make our photo go from drab to fab!
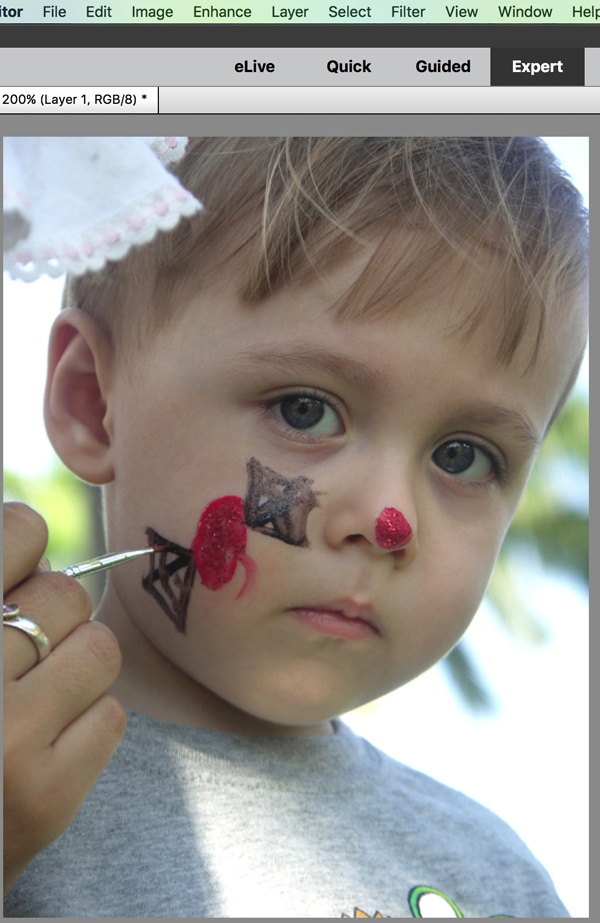
Here’s the original photo. Super cute little guy, but notice that it’s on the dark side.
Make sure to make a duplicate copy of your photo and close the original before you get to editing.
Step 1- Press Ctrl J (MAC: Cmd J) to duplicate your photo layer.
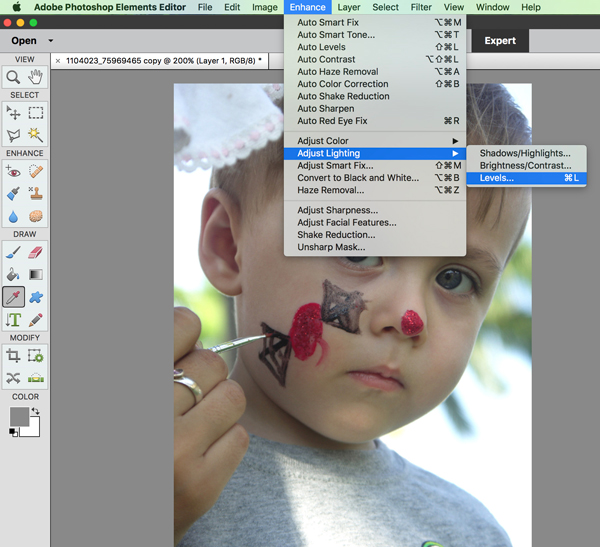
Step 2 – In the Menu Bar, choose Enhance > Adjust Lighting > Levels. (PS: In the Menu Bar, Choose Image > Adjustments > Levels.)
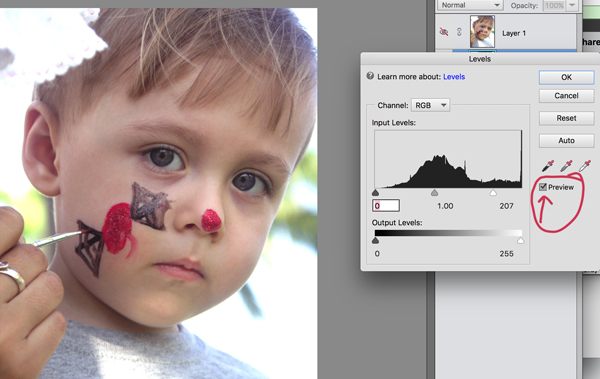
Step 3 – The Levels panel will open. Click on the middle eyedropper on the right side. This is the Grey Point dropper. Next, click the eyedropper on a grey area of your photo. Click in several spots keeping an eye on how your photo changes.
You can also use the White Point dropper and click on a white area in your photo – since each photo is so different the White or even the Black point eyedroppers may work better for enhancing your photo. The key is to play until you are happy with the results!
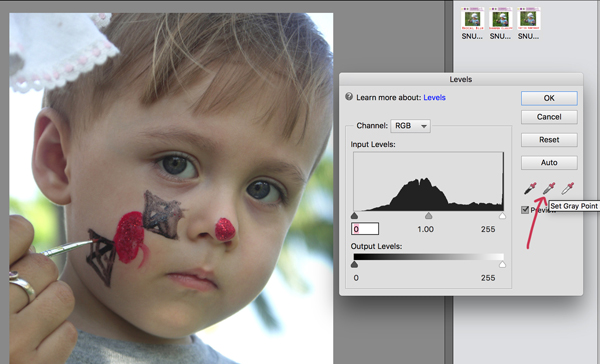
You can toggle the Preview on and off by clicking on the checkbox. This way you can view the original photo layer to see the changes you have made to the copy.
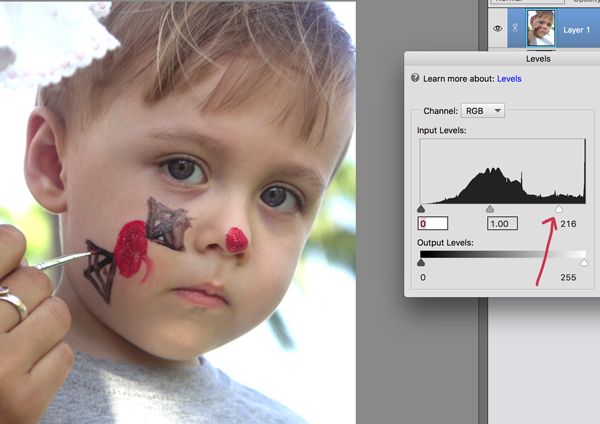
Step 4 – Move the white, black, and middle sliders until you are happy with the results. Then click OK.
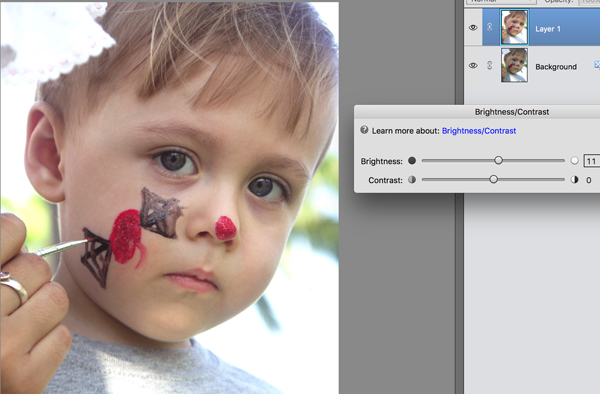
Step 5 – One final tweak I like to add to my photos is to adjust the Brightness/Contrast. In the Menu Bar, choose Enhance > Adjust Lighting > Brightness/Contrast. (PS: In the Menu Bar, Choose Image > Adjustments > Brightness/Contrast.) Move the sliders to brighten and add contrast.
And that’s it!


Thank you for the awesome tutorial.
So glad you liked it!