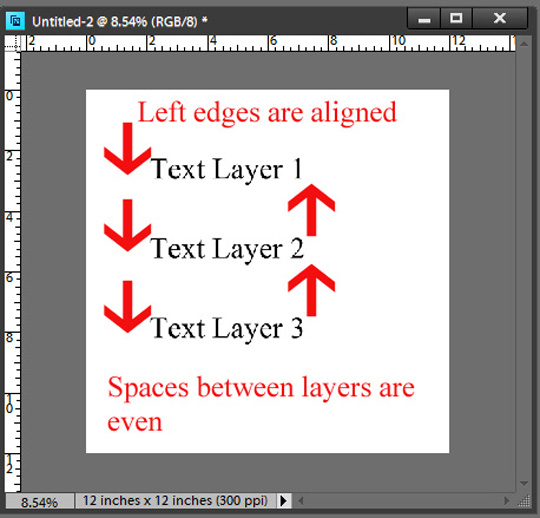
When creating your layouts, do you sometimes have elements such as embellishments or alphas that you just can’t seem to line up so they look nice and neat and on the page? Maybe you want to have a row of flowers or a column of stars that you want to create a border with, and you just can’t get them lined up perfectly. Do you want to be sure the edge of a line of text lines up evenly with another element on the page?
I’ll show you an easy way to accomplish those things using the Layer Alignment tools in Photoshop Elements. I love using the Align tool – and I use it a lot! Though I don’t use the Distribute tool quite as often, it’s good to know about too.
Note: Technically, the Align and Distribute tools aren’t tools at all; they are options. For simplification, I will refer to them as tools in this tutorial.
When you have the Move tool selected, you’ll see the Align and Distribute tools in the Tool Options bar. The Align section is to help you line up the objects located on the active layers. The Distribute section is to help distribute the spaces between the objects on the active layers.

- The Move tool must be active in order to use the Align and Distribute tools.
- These tools work with layers, so you must have each individual item that you want to align on its own layer.
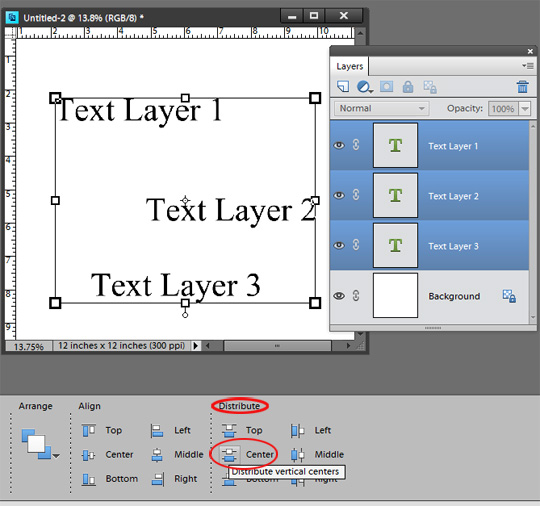
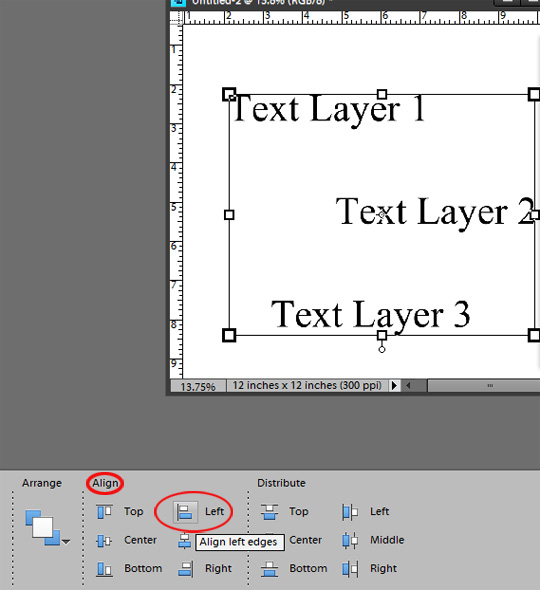
- The Align tool will only work when two or more layers are active, and the Distribute tool will only work when three or more layers are active. If the options icons are grayed out, you don’t have two or more layers activated. When selecting layers for alignment, I also find it helpful to have the Show Bounding Box checked. This helps me to see specifically which items will be aligned.
Once you have selected (activated) the layers you want to align, you can hover over each individual icon in the Tool Options bar for a description of what that particular option will do. Now choose the option you want to use and click on the icon. Poof! Like magic, the items (layers) you’ve selected snap into place and align perfectly.
Here is an example:
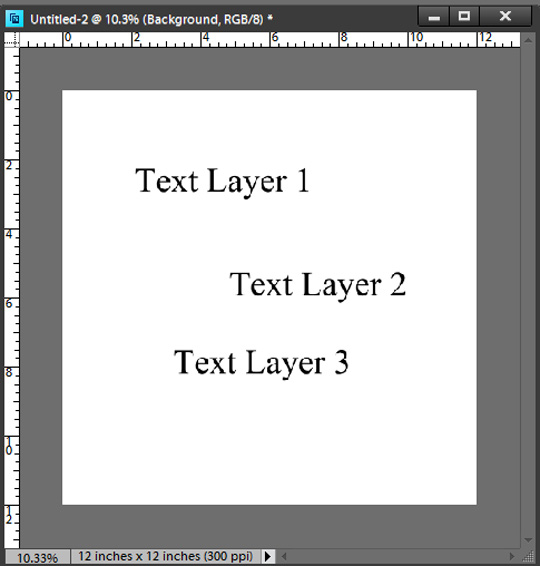
I have three layers of text. As you can see, in addition to the text being all over the page, the vertical spaces between the layers are uneven.