This month’s Scrap Girls Club is full of art deco-inspired vintage goodness – the patterns, colors, embellishments, text – all of it! I thought it would be fun to share with you two easy methods for making photos sepia-toned to go along with the Club.
Sepia-toned just means photos that have a monochromatic, brown color scheme. Just like black-and-white photos are completely made up of black, white, and gray, sepia photos are entirely shades of brown. In the past, sepia photos were created by adding additional chemicals during the developing process, but now we can duplicate it with a few clicks in our photo-editing software.
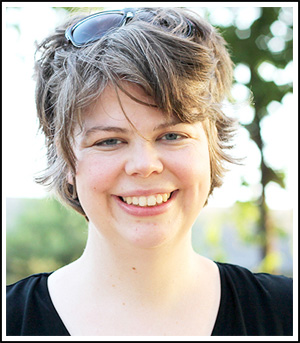
I’ll be working with this selfie I snapped at my husband’s work Christmas party. The party’s theme was Great Gatsby – The Roaring 20s – which seems perfect for a vintage-style layout, but pretty much any photo will work.


First, it’s always a good idea to duplicate the photo layer before making changes (Ctrl+J for PC users and Cmd+J for the Mac folks). Click the little eye icon next to the original photo layer and leave it alone. We’ll just work on the duplicated layer from here on out.
Next, turn your photo black and white. Again, there are a bunch of ways to do this, but the easiest way is to go Enhance > Convert to Black and White. At this point, I like to also adjust the Levels (amount of black, white, and gray in the photo) by going Enhance > Adjust Lighting > Levels. Play around with the sliders until you get the amount of contrast you like.
Now it’s time to make the photo sepia. Go Enhance > Adjust Color > Color Variations. This opens up a window with eight different versions of your photo. By clicking on any of the eight versions, you can make adjustments. Over on the left side, you can change which part of the photo is adjusted – highlights, shadows, etc. Below that, there is an Intensity slider. The further you move the slider to the right, the more drastic the changes will be. Playing around with the different combinations will help you find the perfect colors to complement any layout.


