Creating the Illusion of Paper Tears in Digital Scrapbooking
This free digital scrapbooking tutorial was created using Adobe Photoshop Elements 5.0 with Windows XP, but should be able to be adapted easily to other systems. If you have questions about how to do this, just ask on our message board!
One of the things you'll see done in digital scrapbooking is paper tearing. Here at Scrap Girls, we have made it really easy for you with the ScrapSimple Digital Layout Templates - Layered: Tear It Up series. This tutorial is going to show you how to easily use these digital templates and how you can customize them. For this tutorial, I'm using Templates 1 and 2 from the ScrapSimple Digital Layout Templates - Layered: Tear It Up 2 set. But you can easily mix the tears from any of the Tear It Up series.
First, you need to open the tears you want to work with and a new, blank document.
Next, you need to decide what you want your final digital layout to look like. I picked these two templates because one had a very uneven tear and the other was pretty straight across. When you add these two together, it can give you a really great look for a strip of paper going across your page that is torn on both sides.
Place your digital templates in the design you want your digitally torn paper to be. For this example, you will notice I changed the color of one of my templates. I did this so I can tell the two layers apart better. This is something you may want to do if you notice the templates you are working with are the same color. Also, you will notice on the larger template, I have taken my Crop Tool and trimmed it down so it is smaller. Don't worry about trimming too much off, you can always add more to the template later.
Once you have trimmed your template and placed both tear templates on a new document, you should have something that looks like this.
Before we merge these layers, you will need to decide if this will give you the final size of template you are looking for. If your placement is too wide, it can be very easily adjusted by moving the layers. (The main thing to remember is that you don't want to see any of the bottom layer sticking out from under the top one.) When the adjustments are done, this is what you will have.
Now if you want a wider strip, place the two template layers where you want your strip of paper to begin and end. You will have some blank space in between them. Using your Rectangle Tool, place a new layer over the top of the two tears. This gives you the option of adding on and customizing your template. Next, merge the template layers and place the paper you would like to be “torn” over your new, merged template.
Then clip (Ctrl+G in Photoshop Elements, Ctrl+Alt+G in Photoshop) your paper to your new tear template. You may merge your clipped paper to the template layer, if you wish.
The final step to creating your torn paper is to take the white “tear” layers and place them under the template. Once those have been placed, you are able to adjust how large or small you want the tear to appear.
Another thing you can do if you want to make the tear look a little more rough is to take the Eraser Tool and a grunge brush (Jan Hicks' Brush Set: Mudstained 1 is shown here) and erase part of the white. This gives you the capability to personalize the template a little more.
Finally, merge the template layer (which now is covered with a patterned paper) and the two white tear layers. Or, you may wish to leave them separate. As a final step to making a realistic-looking paper tear, add a drop shadow. If you have left your white tear layers separate from your main template layer, you may wish to try adding a tiny drop shadow to the main layer as well. You are now ready to complete your layout.
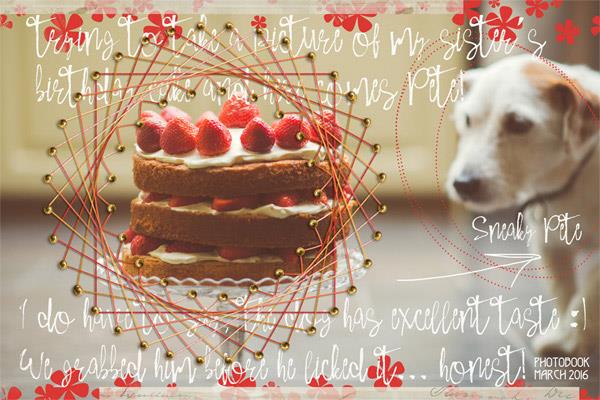
Digital Scrapbook Layout by Heidi Dillon
larger view
Free digital scrapbooking tutorial written by Angie Briggs.
For more free digital scrapbooking tutorials, sign up for our newsletter!