
Gradients are an often overlooked but easy-to-use tool. They are perfect for adding multiple colors to a photo, embellishment, paper, or just about anything! I’m going to show you how to use a gradient to color a paper template, a seashell embellishment template, and a photo. Let’s get started!
Adding a Gradient to a Paper Template
First, let’s add a gradient to a paper template. I have used a paper from ScrapSimple Paper Templates: Picturesque 2.
Open up your template and make a duplicate copy and close the original. This is a good practice each time you use any kind of template; that way, you always keep your original intact.
Create a new blank layer by holding down Ctrl+Shift+N. Make sure that layer is selected in your Layers Palette.
Now, go up to your menu bar and select “Layer,” then scroll down and select “New Fill Layer.” Then select “Gradient.”
A little box will pop up; hit “OK.”
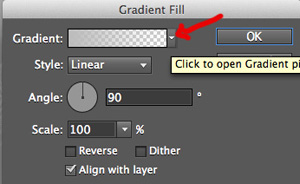
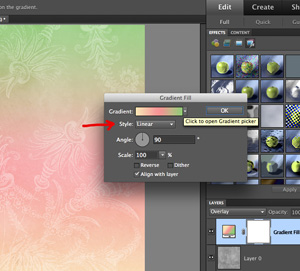
The Gradient Fill dialog box will open up, so click on the little arrow to the right of the Gradient box and choose a gradient.
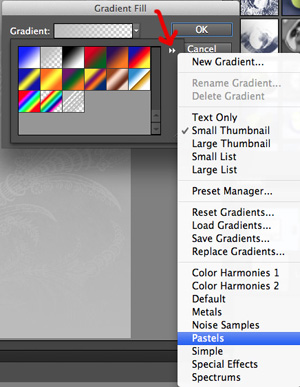
If you click the double arrows on the right, another drop-down menu will appear. You will find even more gradients to choose from; just select one and they will load into your Gradient Fill box. I chose the Pastels.
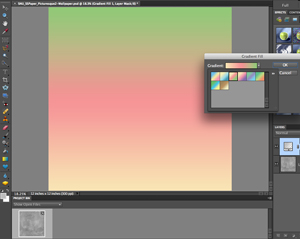
Now you will see the new gradient fill choices, so pick one and hit “OK.” The gradient will fill the blank layer you just created.
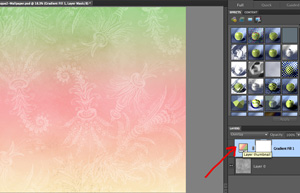
Now, in your Layers Palette, click on the arrow on the top left where it says “Normal.” These are your Blending Modes. Scroll down and select “Overlay.” (Play around with these to see all the different effects the Blending Modes can make on your template!)

Now, look how pretty this is! There are several gradient styles that you can choose from. Open up the Gradient Fill dialog box by double-clicking on the Layer thumbnail in your Layers Palette.
Click on the little arrow next to the Style button. You can choose between Linear, Radial, Angle, Reflected, or Diamond. I usually stick with the Linear, Radial, and Reflected.
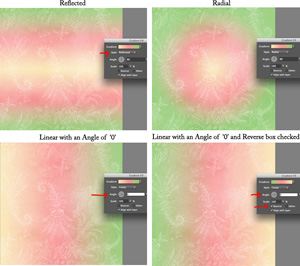
Below you will see examples of Reflected and Radial.
The third paper is an example of playing with the Angle setting. The default angle setting is 90 degrees; I have set this to 0. The fourth paper is an example of checking the Reverse box; this reverses the direction of the gradient blend. Look at the fabulously different effects that you can get with a few easy tweaks!
Adding a Gradient to an Embellishment Template
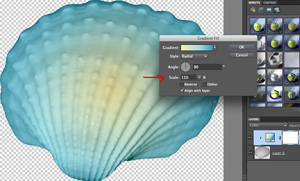
You can apply gradients to ScrapSimple Embellishment Templates using the same technique above. I added a Radial Gradient and increased the Scale to 150 to apply more yellow to the shell.
Adding a Gradient to a Photo
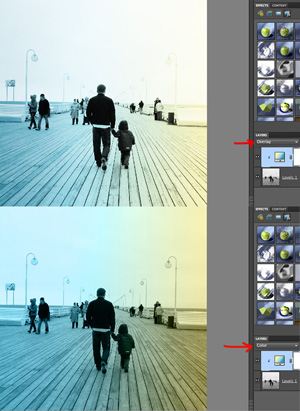
Now, let’s see what effect a gradient has on a photo! Following the same technique above, I added a gradient and used the “Overlay” Blending Mode on the top photo and a “Color” Blending Mode on the bottom. I think this is such a cool effect!
I hope you have as much fun playing using gradients to color templates and photos as I did! Until next time, Happy Gradients!
![]() Digital scrapbooking products used:
Digital scrapbooking products used:
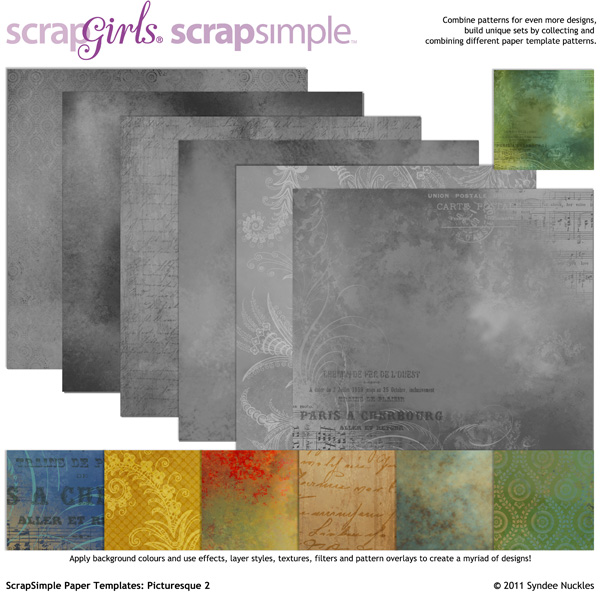
ScrapSimple Paper Templates: Picturesque 2
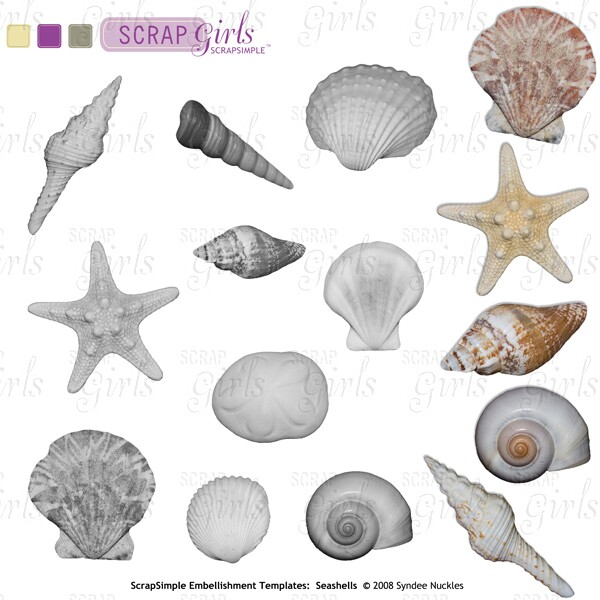
ScrapSimple Embellishment Templates: Seashells
![]()

Tutorial by Syndee Nuckles


