in the SG Design Shop there are two different types of Layout Templates you can use to help with the composition of your layout. The newer templates have layers all set up for you to clip each one of your photos and papers onto. Some of the older templates have just one of two layers. I want to show you how to use the clipping mask with both kinds of templates to make a great layout.
For templates with many individual layers:
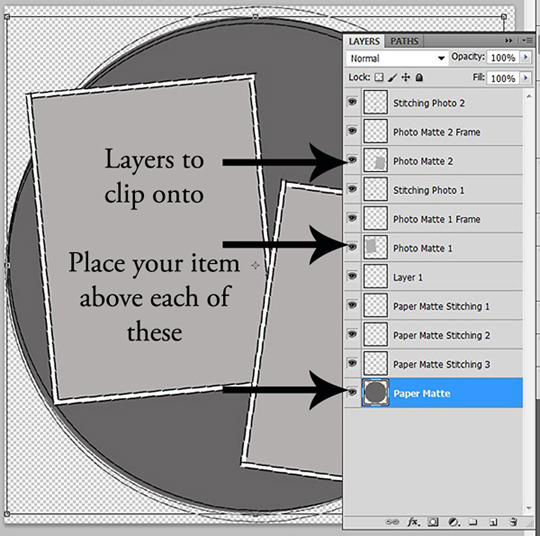
If your template of choice already has layers for each photo and paper, it will be a PSD file and your Layers palette will look something like this:
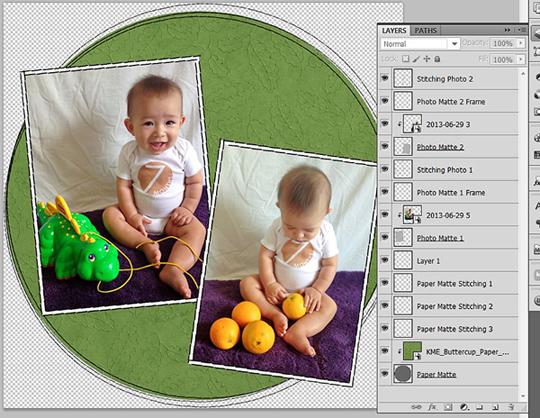
Do this with each layer that you wish to clip something onto. You should end up with a Layers palette that looks like this when you are done:
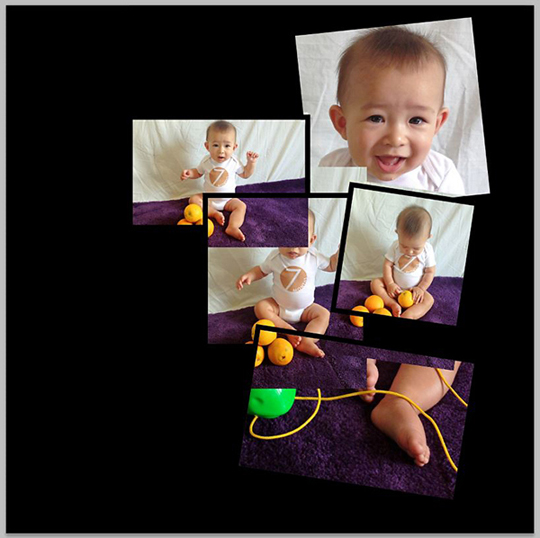
If you are using an older template that doesn’t have individual layers for each of the photos and papers, you can create those layers yourself. For this example, I’m used a template that only has a single layer with all the openings to place your photos behind. If you just place the photos behind the openings, you end up with quite a bit of overlap.
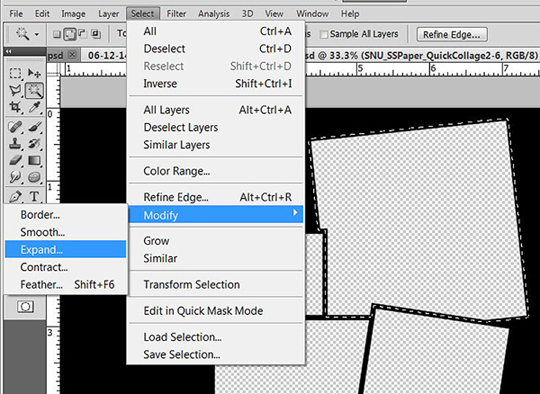
1 . Select the layer for the photos. Then using the Magic Wand tool, click inside one of the openings. You should get “marching ants” around the opening.
2. Then go to Select > Modify > Expand, and for my layout, I chose to expand by 10 pixels. You’ll want to choose a number that makes the selection slightly larger than the opening but doesn’t cross over into a different opening.

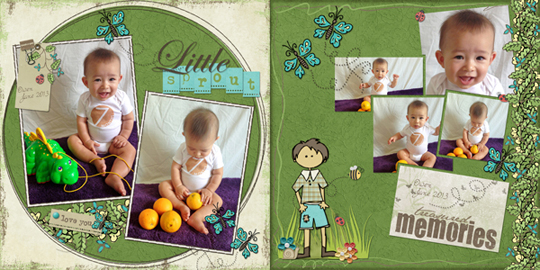
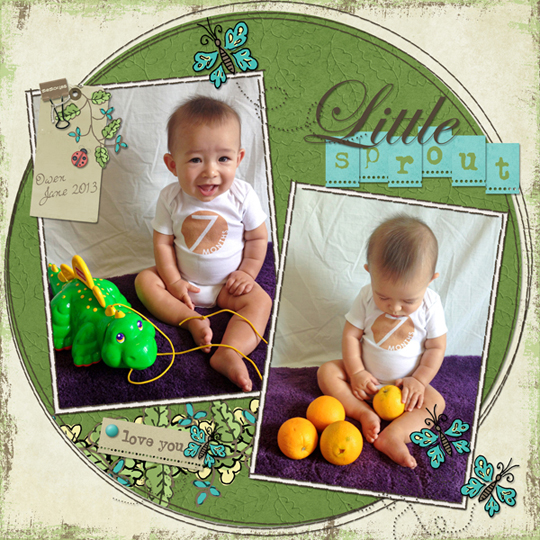
With digital layout templates and the help of clipping masks your scrapbooking pages will come together in a snap!
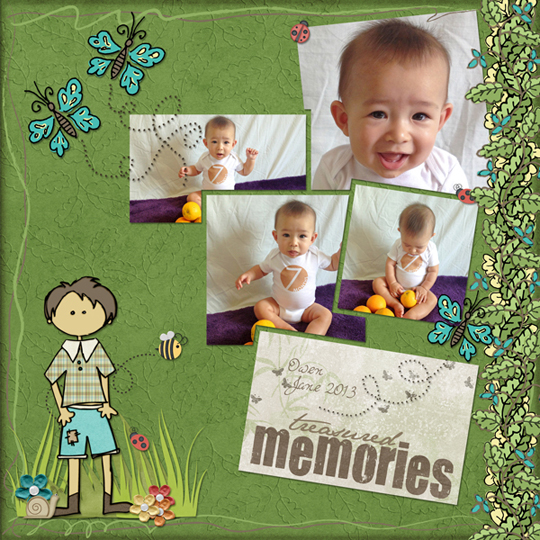

I use and reuse layout templates all the time. Marlene Peacock’s Value Pack: Week 52 SQ Templates 2 is a set of 24 templates that all have the same simple clean lines with many photo spots and journaling spaces so you can scrap a bunch of related photos quickly and easily. Using this set of templates and a few related kits you can create a photo book that has a consistent look throughout.