
Ever since I was a little girl I have been fascinated by chocolate boxes. From a design perspective I never grow tired of looking at the way the boxes are decorated by the artists whose objective, I believe, is to get me to buy them all. Then there is the inside…beautiful chocolates laid out in a way that is a feast for my eyes. I feel like I have hit the jackpot when I get a box that includes the description and location of each delicate piece of chocolate. Admittedly the dark chocolate ones are my favorite.
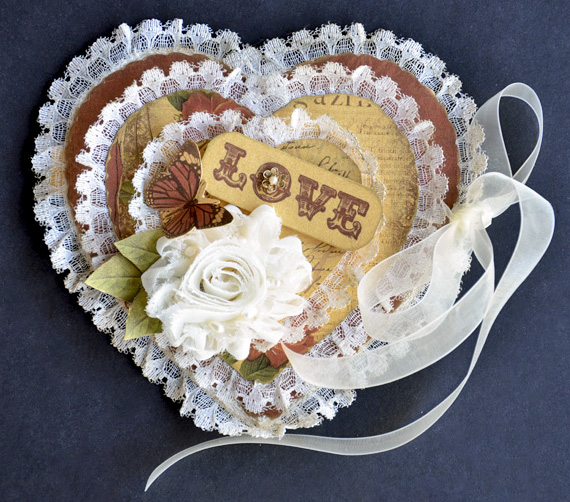
So you can imagine my excitement as Valentine Day approaches. I know that the stores are going to be filled with heart shaped boxes and although I cannot buy them all, I can certainly enjoy the browsing. So my inspiration for this little heart shaped mini album was a heart shaped box of chocolates.
Digital scrapbooking supplies used:
Unforgetable Collection Mini
ScrapSimple Embellishment Templates: Curled Doilies
Supplies List:
Digital Scrapbooking Supplies
Scissors, paper cutter, bone folder
Paper – heavy weight gold metallic
Adhesive – two sided tape, pop dots
Embellishments – lace, ribbon, earring, digital embellishments printed and cut out.
Gold Metallic ink
Instructions:
**Note printing on metallic paper gives the album a different , shiny look.
Step 1 – Open a 6 x 6 document. Create a heart shape. I used one of Syndee’s doily embellishments for the heart because I really liked the classic heart shape. Print out and cut for use as your template. Trace four hearts on gold metallic paper and cut out.
Step 2 – Reduce the size of the heart created in Step 1 and clip your digital scrapbooking papers to the heart using a Clipping Mask Opt+Ctrl+G (Mac) Ctrl+G (Win). I made three hearts to layer on my front cover and one for my back cover. Print the decorative hearts on gold metallic paper and cut out.
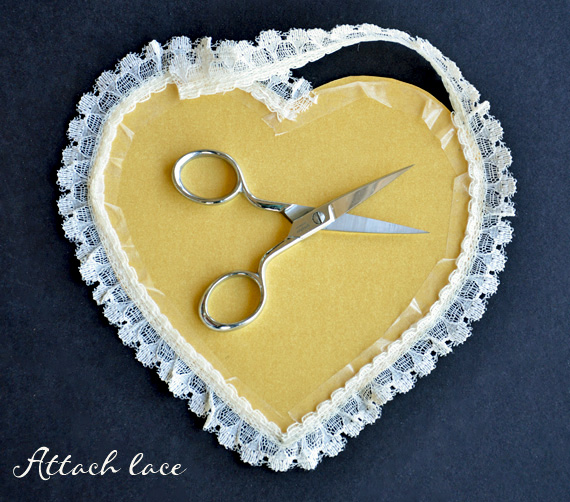
Step 3 – Using two sided tape, attach lace to the back of each of the hearts created in Step 2. Snip the lace along the bottom edge as needed to help the lace lay flat.
Assembling the front cover:
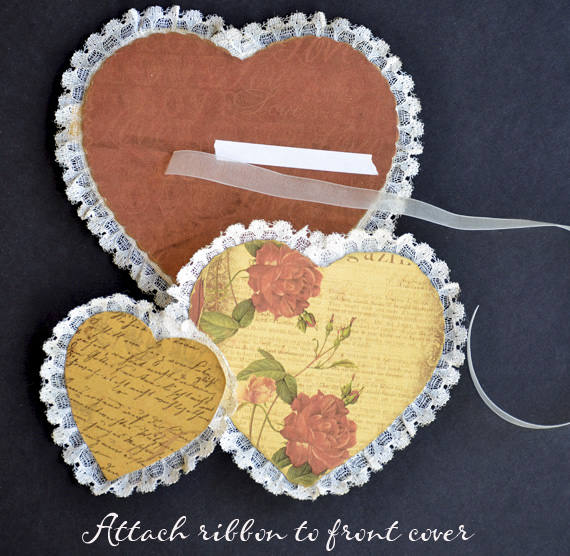
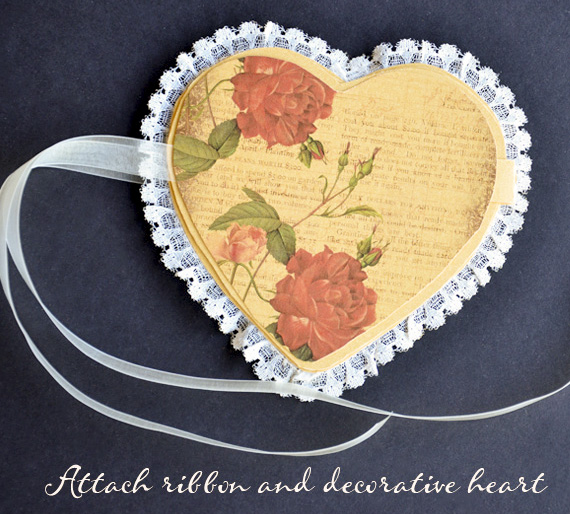
Step 4 – Cut two hinges from the gold metallic paper. Select one of the metallic hearts you cut out in Step 1. Attach one of the hinges to the front of the gold heart. Attach the largest decorative heart from Step 2 to the gold heart, hiding the hinge. Put a piece of two sided tape in the middle and attach ribbon for the front of the bow you will tie to keep the album closed.
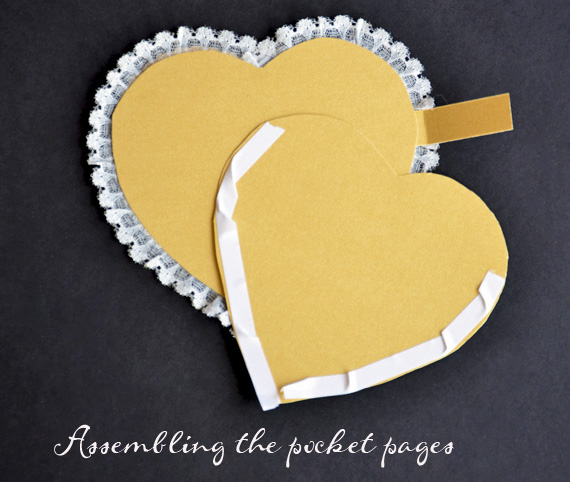
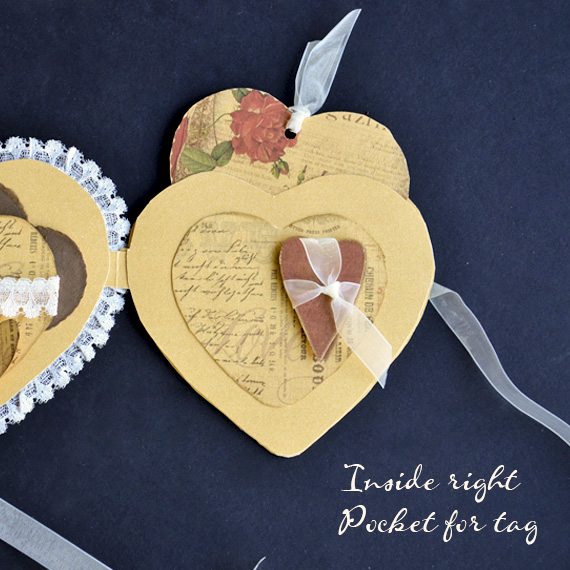
Assembling the pocket pages:
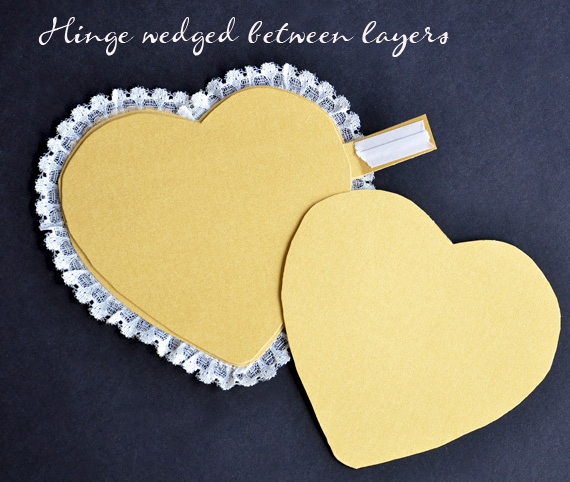
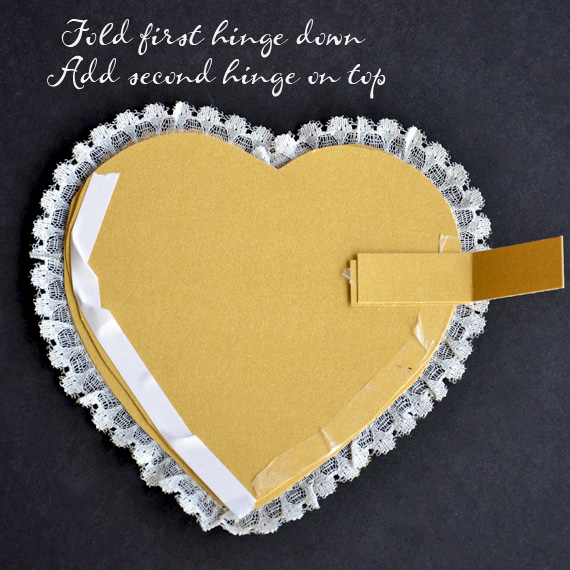
Step 5 – Select two of the gold hearts. Lay one on top of the other and trim if needed. You are going to put them together with two sided tape to form a pocket. Apply two sided tape around the sides leaving the top open. Remove the tape from the hinge side and fold the hinge down to attach to the inside of the pocket. Place second hinge on top of the first hinge. We are hiding part of the hinges in the pocket. Add more tape over hinge and attach the second heart to form your pocket.
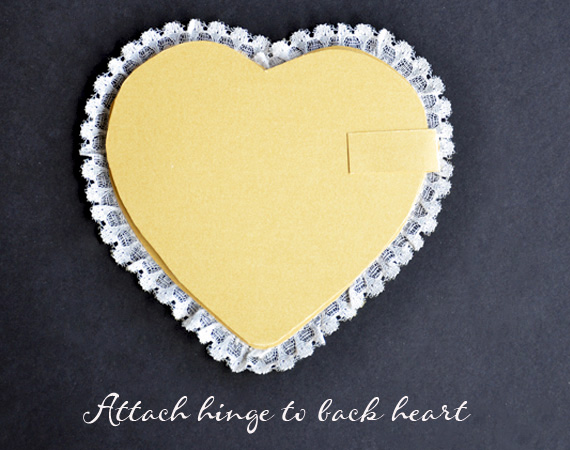
Assembling the back:
Step 6 – Select your last gold heart. Attach the second hinge to the back of the gold heart. Attach ribbon for back of the bow tie. Attach a decorative heart from step two to hide the hinge and ribbon.
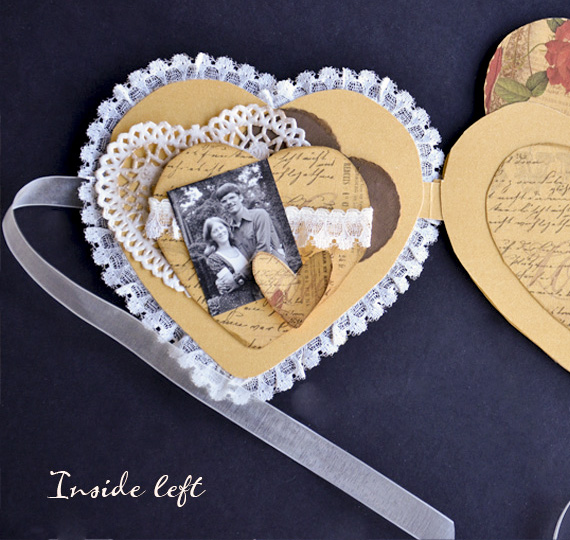
Step 7 – Layer the hearts on the front cover and add embellishments.
Step 8 – Decorate the inside pages and create tag for pocket.
These mini albums are perfect for a small valentine gift for someone you love. Show them what is important in your chocolate box. And remember to post your creations in the Hybrid Gallery for us all to enjoy! May your Valentine’s day be sweet!
Live each day creatively,
Karen

Tutorial written by Karen Webb


