
Card Stash 102
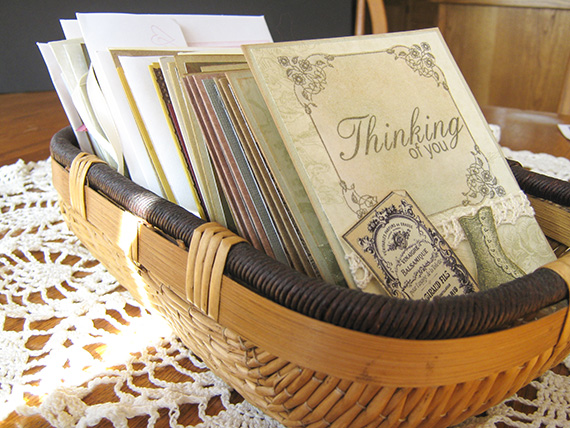
In January’s “Card Stash 101”, we talked about building/replenishing a printable cards stash. While I do love to make unique cards with a specific individual in mind, there are times when I need a card quick. And it is so nice to have a place to go (my little card basket) and grab something “made from your heart” that you can address and send off when you have relatively little time. A good stash is possible by making several of the same cards at the same time. It stands to reason that since you have out the scissors, glue, ribbons, punches, and glitz, and are printing on 8.5 x 11 inch paper; you might as well get the most “bang” for your efforts via assembly line production.
Digital scrapbooking supplies used:
Take Time Collection Mini
SweetNSassy Collection
Patternologie Collection Biggie
Memento Collection Biggie
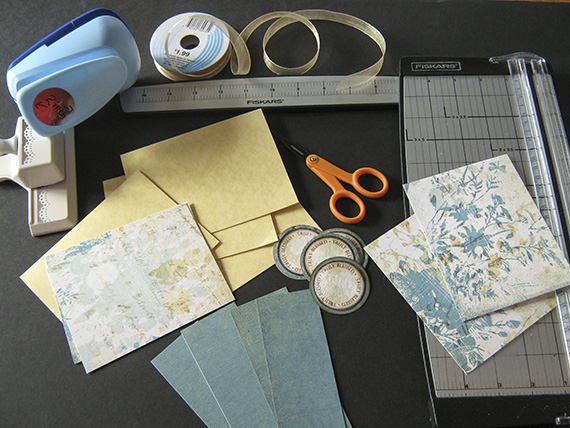
Craft supplies used:
Printer paper, cardstock
adhesive
ribbon
Circle punch, border punch
Instructions:
Step 1 – The Base:
A standard “A2” card measures 4.25 x 5.5 inches, which is one half the standard sheet of paper/cardstock. When you cut the 11 inch side in half (5.5 inches) and score/fold the 8.5 inch side in half (4.25 inches) you will have just produced 2 card bases. I usually use 2 sheets of card stock to make 4 card bases. See how quickly this multiplies? I like to make four at one time because of this next step.
Step 2 – The Matting:
The matting of a card is the color/design paper/cardstock that will be layered and glued on top of your base. It is cut slightly smaller, typically 1/8 to ¼ inches smaller on all four sides so that the card base “peeks out” from underneath.
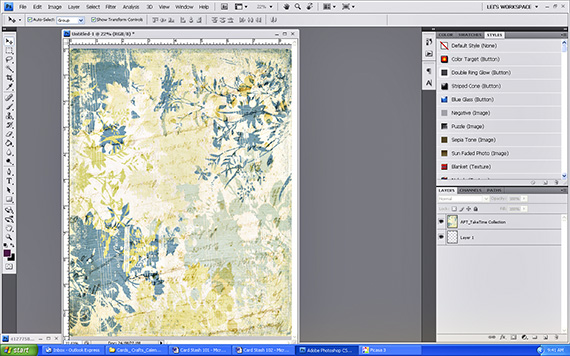
Here is where I open Photoshop and create a new document using 8.5 x 11 standard US paper size, 300 resolution and transparent background. I will drag my digital paper of choice onto this document and make the adjustments to fit to my page.
***Printing tip: When printing, I always go into page preferences for my printer and select “borderless” so that my paper of choice will print without the .25 inch border.
I typically print the matting on cardstock weight or watercolor paper as the weight lends itself well to embellishments. Although I have used photo paper and presentation (brochure) paper for this step; it really depends on the card and how I am planning to embellish it. You will get four 4 x 5.25 inch mats from an 8.5 x 11 inch sheet of card stock.
Now its time to gather your ribbons, buttons, flowers, or coordinating cut embellishments and word-art from the ScrapGirls collection you chose to use and decorate to your heart’s content!
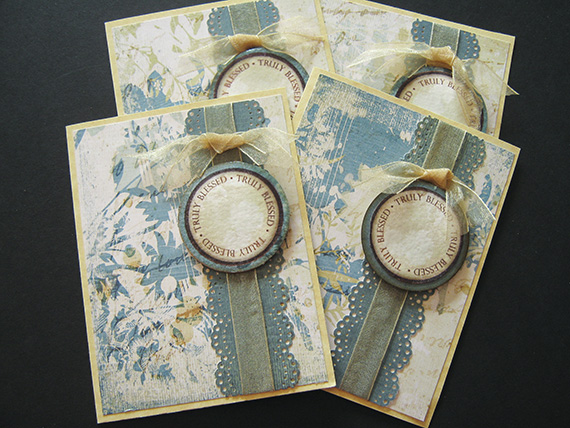
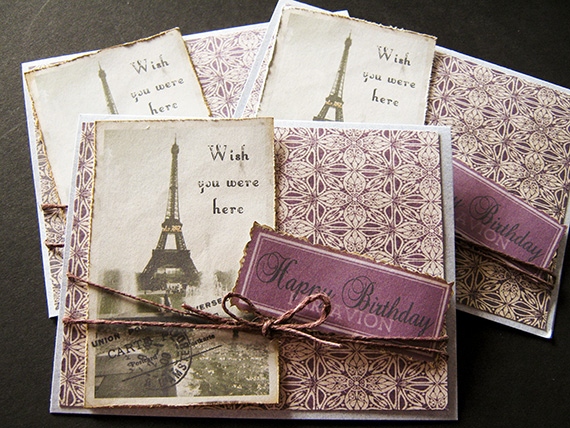
*Note* When making multiples of one card, I very often leave the inside blank so that was I can personalize the card for the individual I’m sending to.
If you give this project a try, please be sure to post it to Scrap Girls Hybrid Layout Gallery so we can see your creation!
And as always . . . Enjoy the Process!!
~ Lei
Tutorial written by Lei Maier


