
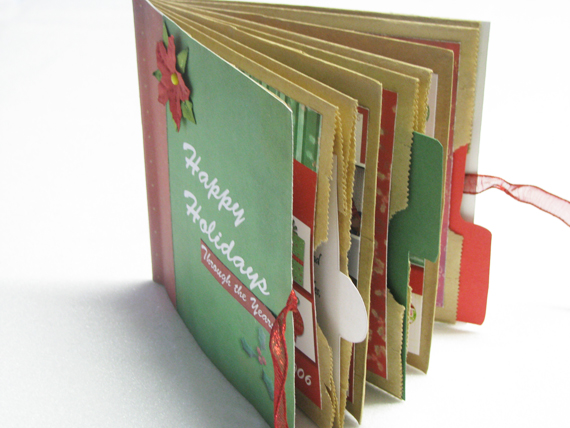
 This is one of my favorite mini albums! They are so easy to make with ordinary paper lunch bags you can purchase from the grocery store. I love this technique because it is so simple and versatile. The bags themselves create “pockets” within the pages of the album; they can be filled with additional photos, memorabilia, journaling cards, tags, etc. I’ve seen different methods of construction for these little albums, and I’ll share one of my favorites with you here.
Supplies:
ScrapSimple Digital Layout Album Templates: 4.7×4.5 Paper Bag Album
Digital scrapbooking supplies as desired 3 brown paper lunch bags (5 and 1/8 inches wide by 10 and 5/8 inches long)
Cardstock
Ruler Scissors/paper trimmer
Stapler and staples
Adhesive suitable for use on paper
Optional: ribbon for tie
Double-sided adhesive (for ribbon if using ribbon for tie)
Optional Embellishments: ribbon, buttons, bows, charms, glitter, etc…
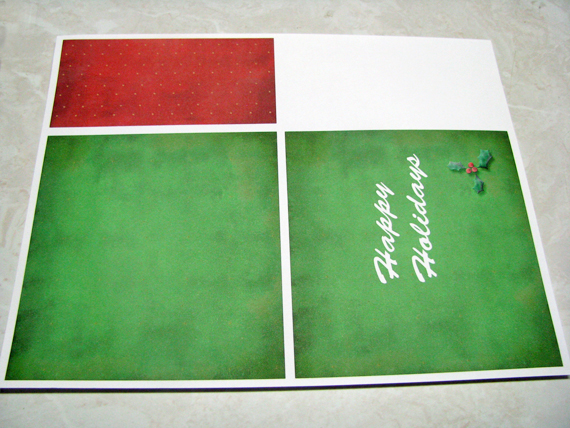
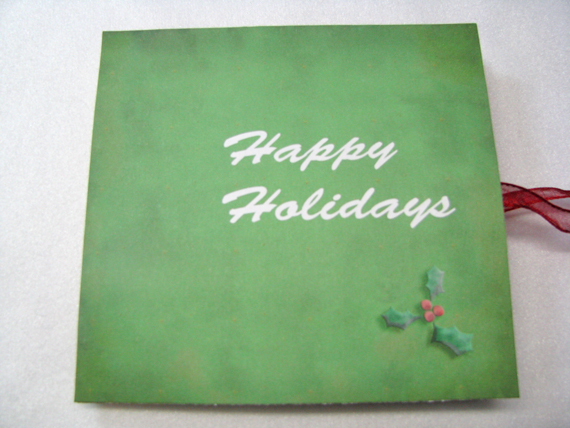
Step 1 – You will want to start by creating a front and back cover, spine/binding, and your digital layout pages. For the covers, create two blank 5 ½ inch by 5 ¼ inch documents and decorate them as desired using your digital scrapbooking supplies. For the binding, create a blank 2 ½ inch by 5 ¼ inch strip to coordinate with the covers. Print these onto cardstock and set aside.
 Step 2 – Create your layout pages using the templates provided in ScrapSimple Digital Layout Album Templates: 4.7×4.5 Paper Bag Album. There are 8 page templates, and there will be 8 pages plus the inside front and inside back covers in the album; so you may wish to duplicate some of the templates if you plan to have layouts on the inside front and back covers of your album. If you wish to use them, the template set also includes page inserts on which you can add additional photos, journaling, or even mini layouts. These inserts will be placed in the pockets of your album pages. Print your layouts/inserts onto cardstock and set them aside.
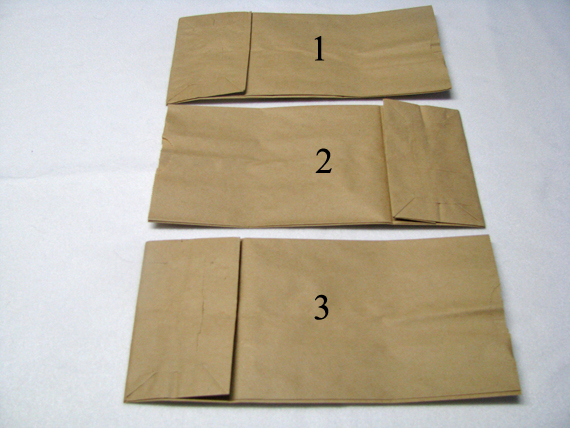
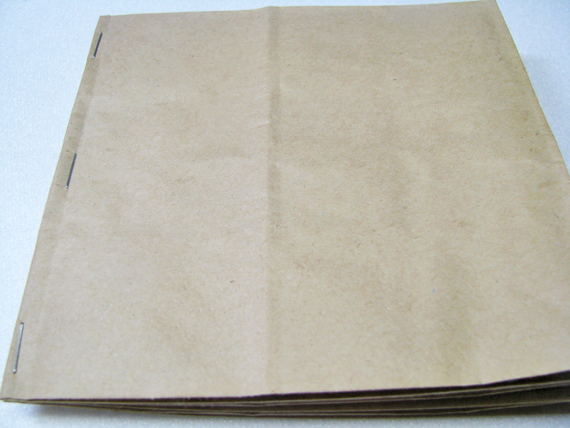
Step 3 – Lay the first bag down with the flap facing up and the open end of the bag to the right. Lay the second bag down next to the first one with the flap facing up and the open end to the left. Lay the third bag down next to the second one with the flap facing up and the open end to the right.
Step 4 – Stack the bags on top of each other: place bag 2 on top of bag 1, and place bag 3 on top of bag 2, so they form a nice neat stack.
Pick up the stack and fold it in half.
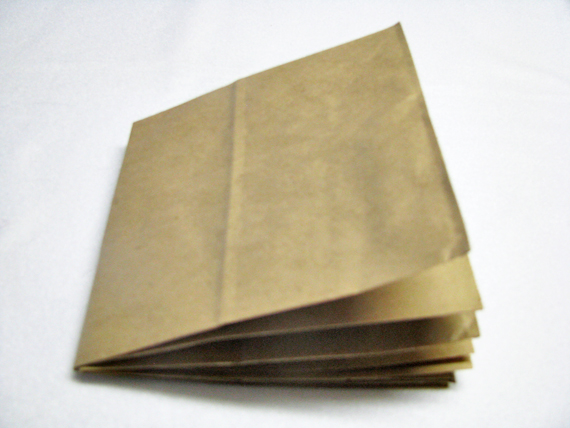
At this point you may want to put a large paper clip or binder clip at the open edge of the bags to hold them together and keep them from slipping during the next step.
Step 5 – Place 3-5 staples at the edge of the stack very close to the folded edge.
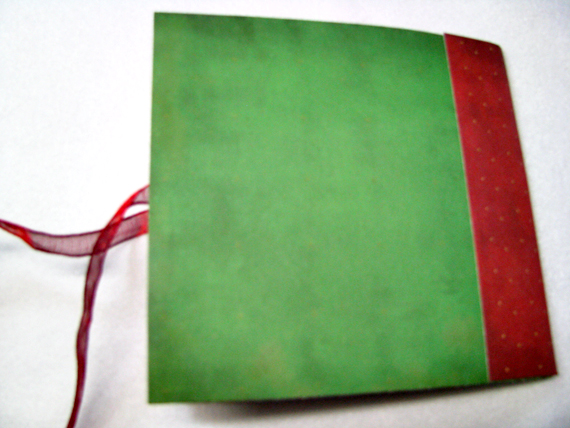
Optional: If you wish, you may add ribbon to tie a bow which will hold the pages closed. Cut two pieces of ribbon approximately 8 inches long. (I used ¼ inch wide wired ribbon, but other widths and types of ribbon could be used). Using a strong double-sided adhesive, adhere approximately 1 inch of the ribbon to the right hand edge of the top page. Flip the album over and adhere approximately 1 inch of the second piece of ribbon to the left hand edge of the back page.

Step 6 – Cut out your covers and binding strip. Adhere your front cover to the top page, being careful to line up the top and bottom edges of the cover with the edges of the top page and keeping the left edge of the cover as close as possible to the folded/stapled edge of the album. You will be sandwiching the end of the ribbon between the cover and the top page. A very small amount (approximately 1/8 inch) of the cover will hang over the right hand edge of the top page – this is okay, you want it to! Repeat this process for the back cover, again being careful to line up the edges as you did with the front cover. Again, approximately 1/8 inch of the back cover will hang over the edge of the last album page – this is good!
Step 7 – You will want to fold the binding strip in half lengthwise
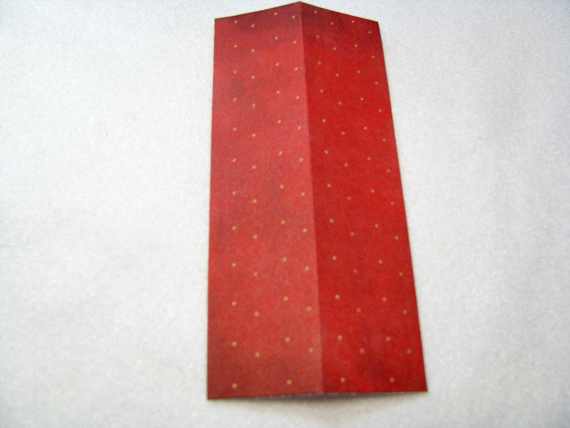
Apply adhesive to the right hand edge of the strip and adhere this half of the strip to the left edge of the album cover.
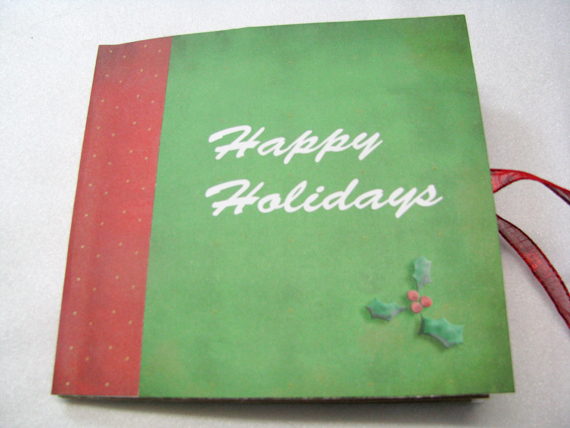
Apply adhesive to the other edge of the strip and wrap it around to the back of the album.
Adhere your layout pages onto the album pages and place inserts in the “pockets” of the pages. If desired, you may now add any embellishments such as buttons, bows, charms, glitter, etc. Tie the ribbon (if you added one) into a bow.

You now have a great little mini album to share photos and wonderful memories with others. These albums are adaptable to any theme and they also make nice gifts for any occasion. We would love to see what great paper bag albums you can come up with. Why not make one (or more) and be sure to upload them to the Scrap Girls Hybrid Layout Gallery so we can oooohh and aaaahh over them!
Digital Scrapbooking Supplies Used
ScrapSimple Digital Layout Album Templates: 4.7×4.5 Paper Bag Album
Golden Memories Collection Biggie
Merry Memories Collection Mini

Tutorial written by Theresa Guyer


