
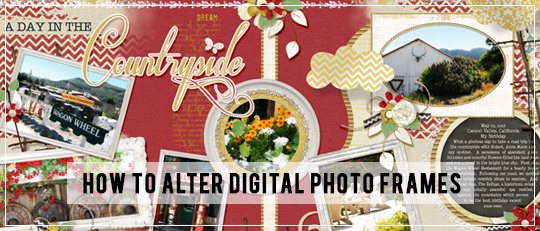
Have you ever experienced finding just the right frame embellishment only to discover that your photograph is the wrong size? Most likely you make the adjustment to the picture, and in the process, crop away a section that you would otherwise choose to keep. Why not alter the frame to fit the photo? The Countryside Collection designed by Brandy Murry contains a great selection of frames to demonstrate how to make slight alterations to fit your needs.
- Change the Frame Shape: Rotate frame 90 degrees. Cut and paste scallop edging from sides of frame using the Rectangular Marquee Tool. With the Transform Tool active, pull down top-center box using the arrow, which will elongate oval shape. Place cut scallop edging on either side and trim excess. Merge all layers.
- Too Bulky: If the weight of the frame is too heavy, simply use the Marquee Tool to delete the unwanted portion.

- Add a Mat: Need a little color to give a lift to your photo? Place a small section of paper beneath frame layer. Hold the Ctrl key (Cmd on Mac) while clicking on the frame layer to create “marching ants,” then click Select> Modify> Expand. The amount of pixels chosen will determine the width of the mat. Use the Eraser Tool to eliminate center area. Press Ctrl+D (Cmd on Mac) to remove marching ants. While still on the paper layer, erase any portion of the paper remaining around the outside of the frame. Merge all layers.
- Change Proportions: To make a smaller frame, use the Rectangular Marquee Tool to draw around half of the frame. Cut and paste. *Adjust frame section on top layer with frame section on bottom layer to the size needed. With a soft eraser and Opacity around 30-40%, erase cut edge slightly to blend with layer beneath. Merge layers. To make a wider or longer frame, use the Rectangular Marquee Tool to draw around one side, eliminating corners. Delete. Duplicate remaining section of frame. Click Edit> Transform> Vertical (or Horizontal). Continue as instructed above (*).

- Create A Frame Using A Tag: Open and place a framed chalkboard on the top layer. Size the chalkboard so that the Tag shows a border around the edge. Hold the Ctrl key (Cmd on Mac) on chalkboard layer to create marching ants. Highlight the Tag layer and press Delete. Now move the Tag layer on top and add a small shadow.
.


Digital Scrapbooking Products Used:

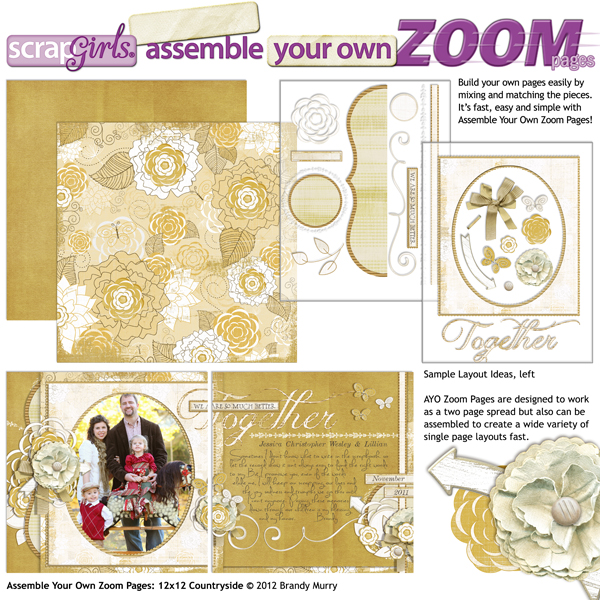
Assemble Your Own Zoom Pages – 12×12 Countryside
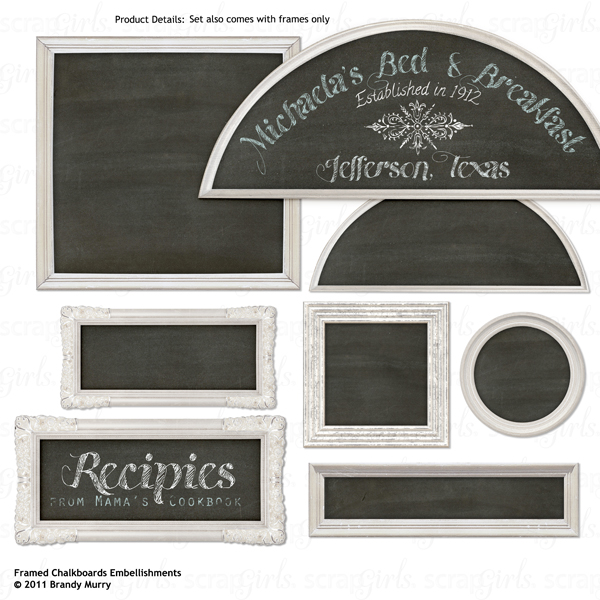
Framed Chalkboard Embellishments
![]()

Article written by Joyce Schardt


