
When I create digital scrapbook pages, I usually let the photos guide my color choices. I’ve found that whether I am choosing from ready-made collections or coloring ScrapSimple products, using color swatches makes the process easier. In this tutorial, I’ll show how you can create your own custom color swatches from photos.
You will need to make any desired adjustments to your photo before creating the color swatches.
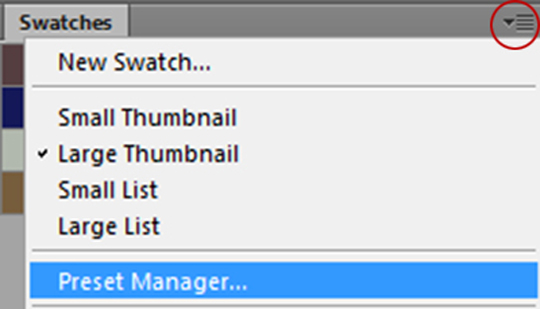
First, clear the current colors in the Swatches panel. If your Swatches panel isn’t visible, open it by choosing Windows > Swatches on the top menu bar. Open the Preset Manager by clicking on the arrow at the top right of the swatch panel and selecting it in the drop-down option menu.
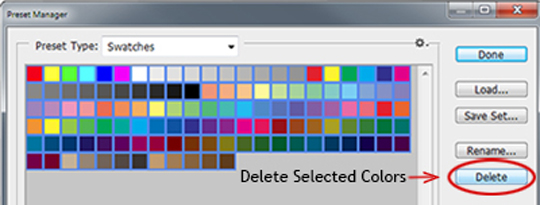
To select all the colors in the preset manager, click on the first color, hold down the Shift key and then click on the last color. A selected color has a blue frame around it. With all the colors selected, click “Delete” to clear all the swatches.
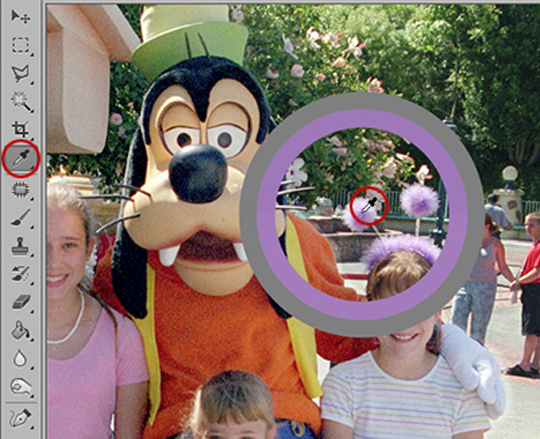
Now we’re ready to pick some colors! You may need to zoom in on your photo for more accurate color picking. Select the Eyedropper tool and click on your photo to select a color. The color will show in the color ring and as the foreground color. If you don’t like the color you get, just click in another place on your photo to get a different one.
Once you have selected a color, hover over your Swatches panel. A paint bucket icon will temporarily show when you hover over an area without a color swatch. Simply click to create a new color swatch. A pop-up will give you the option to name your color.

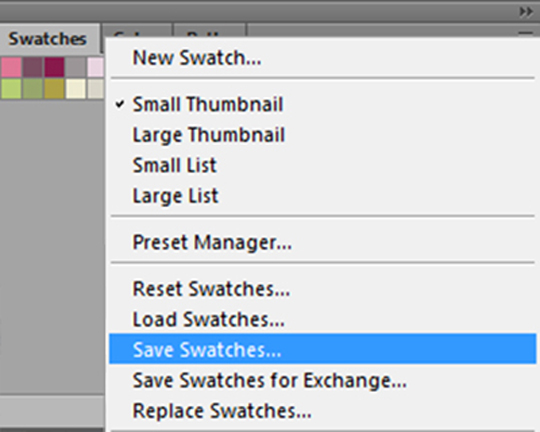
When you are finished selecting colors and have added them to your color swatches, you can save them as a swatch set. Click on the arrow at the top right of the Swatches panel to open the drop-down option menu. Choose “Save Swatches” for an ACO file or “Save Swatches for Exchange” for an ASE file.
If this process seems labor-intensive, try using
ScrapSimple Tools – Actions: Color Swatch 6301. It’s fast, easy, and includes several different actions.
The Color Pick action will select colors from your photo and create an Adobe Color Table (ACT) file which you can save and load into the Swatches panel. When the action gives the prompt to load the set you just created, you’ll need to change the file type from Swatches (*.ACO) to Color Table (*.ACT) in order to see and select the file.
The other actions in the Color Swatch Action set help you create different types of paint swatches and a color wheel. When using them, you can choose colors from the color swatches panel or from any open file.
For the photo below, I used the color picker action on my photo first. Then I used the “Swatch 1” action to create the color swatch for my photo.
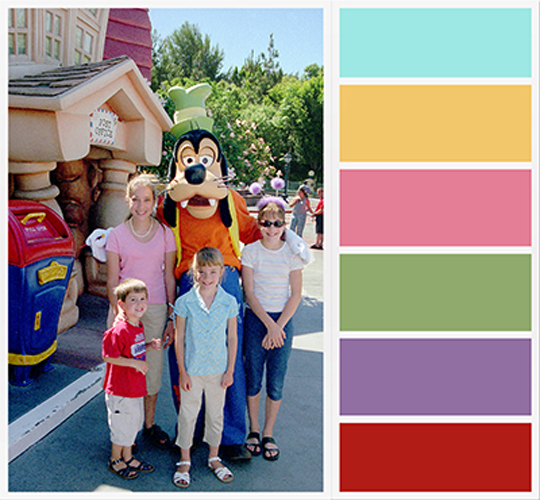
I have lots of different photos, so I created swatches from a few I planned to use in my layout. Then I chose my favorites from the swatch panel to make a larger color swatch. I have lots more photos of this Disney adventure left to scrapbook, so using this color swatch will give my pages a more cohesive look.

Try creating some custom color swatches from photos for your next digital scrapbooking project. When you complete your layout, post it in the
Blog Challenges category of the Scrap Girls Gallery. We’d love to see your work!


 Digital Scrapbook Products Used:
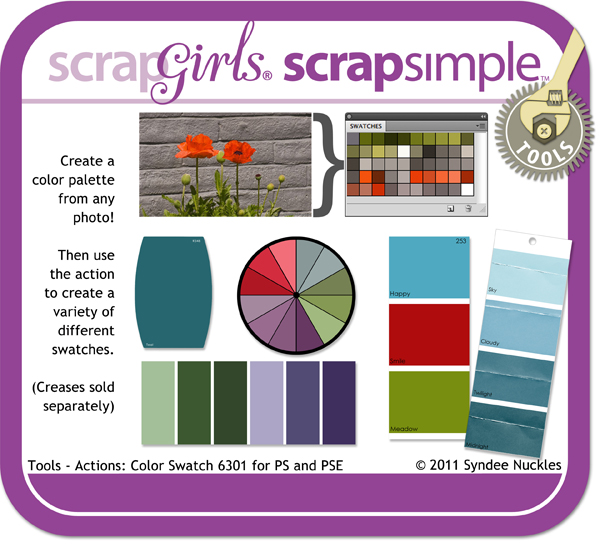 ScrapSimple Tools – Actions: Color Swatch
 Tutorial written by April Martell


