
Blog
-
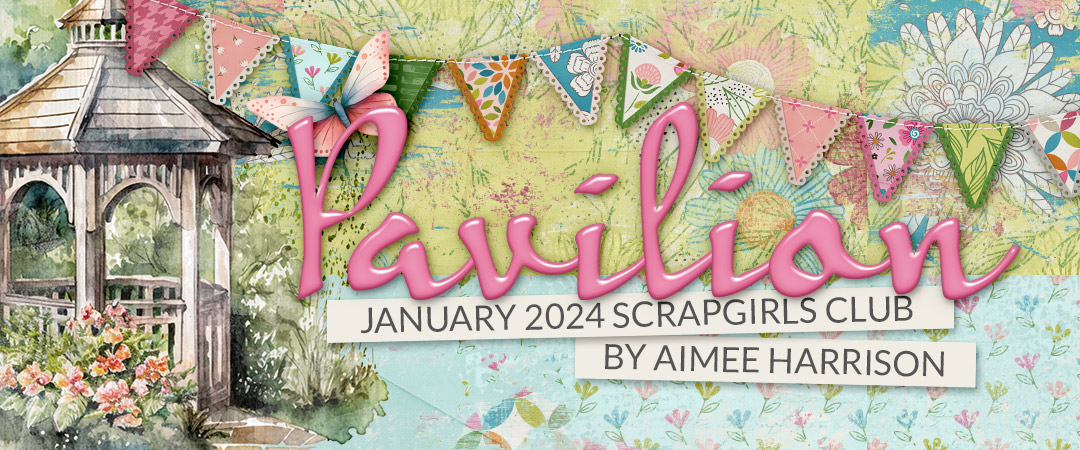
Scrap Girls Club Exclusive: The Lucky One
If you’re ready for spring, you’re ready for our newest Scrap Girls Club: Natural Beauty. This club is a garden full of design options.
-

Take 3 – Value Pack: Project Keepsake – March
What’s not to love about March? It brings the promise of spring, fresh breezes that occasionally carry a whiff of something alive and growing, and more sunshine than you’ve seen in months! Likewise, what’s not to love about March’s Take 3 feature which showcases the Project Keepsake: March by Bekah E Designs? With its refreshing color palette and bright, […]
-
ScrapSimple Club Exclusive: All The Pretty Roses
If you’re ready for spring, you’re ready for our newest Scrap Girls Club: Natural Beauty. This club is a garden full of design options.
-
Scrap Girls Club Exclusive: Embrace
If you’re ready for spring, you’re ready for our newest Scrap Girls Club: Natural Beauty. This club is a garden full of design options.
-
Take 3 – Value Pack: This Is Us
With Valentine’s Day right around the corner, we’re shining our spotlight on a kit that’s perfect for your February photos — This Is Us Collection from DRB Designs. From the fabulous papers to the knock-out-red alpha to the amazing flowers, this kit will be incredible to showcase your latest pictures of love and friendship. With this month’s Take […]
-
ScrapSimple Club Exclusive: Fresh Start
If you’re ready for spring, you’re ready for our newest Scrap Girls Club: Natural Beauty. This club is a garden full of design options.
-
Scrap Girls Club Exclusive: Winterlude
If you’re ready for spring, you’re ready for our newest Scrap Girls Club: Natural Beauty. This club is a garden full of design options.
-
Take 3 – Value Pack: Winter Memories
Have you ever wondered what it would be like to try out a collection before you buy it? Our Take 3 feature gives you an insider’s peek as three of our Creative Team members design a layout from one of our fave collections, and then they show you their layouts while letting you know what they liked […]
-
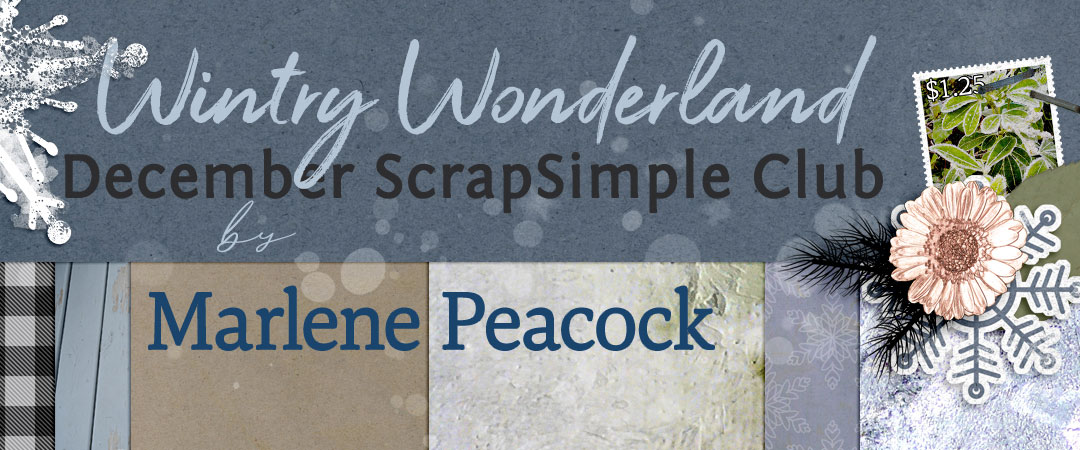
ScrapSimple Club Exclusive: Wintery Wonderland
If you’re ready for spring, you’re ready for our newest Scrap Girls Club: Natural Beauty. This club is a garden full of design options.
-
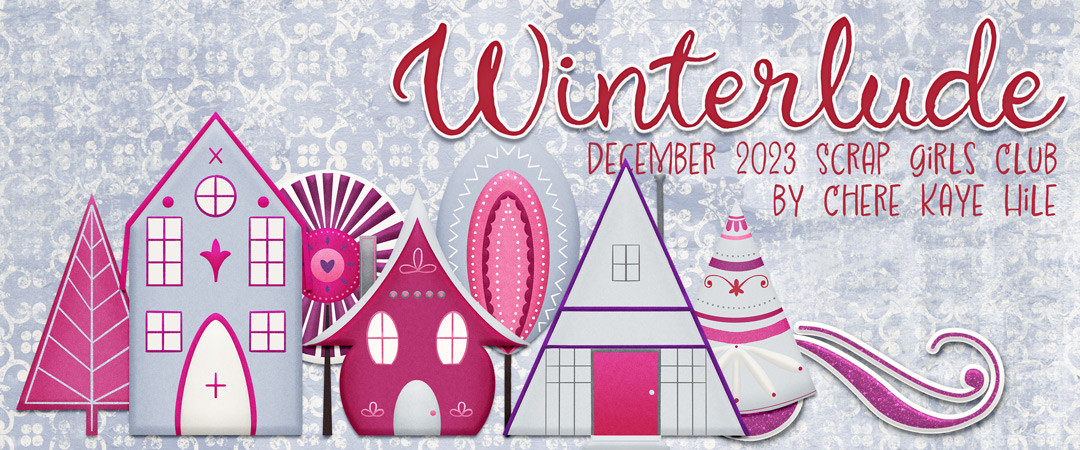
Scrap Girls Club Exclusive: Winterlude
If you’re ready for spring, you’re ready for our newest Scrap Girls Club: Natural Beauty. This club is a garden full of design options.
Welcome to the SG Design Shop Blog - where modern memory keeping meets heritage scrapbooking! Here you'll find digital products and all the inspiration you need to complete your projects.
![]() To our Free Newsletter
To our Free Newsletter


Connect with us


