
You may have seen the abbreviation EHD around the Scrap Girls Message Board or the Internet. Some of you already have one or several external hard drives, but some of you may be wondering what an EHD is, what it’s used for, and how do we protect it?
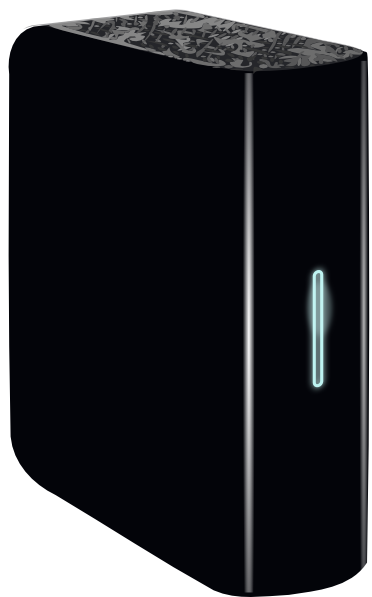
An EHD is an External Hard Drive – a computer device that holds all kinds of data, like photos, music, movies, and yes, of course, your digital scrapbooking supplies! It is a great place to store back-ups of all your important files. EHDs connect via a USB cable, so it’s easy to plug it into your computer, and it will show up as another hard disc drive.
The internal hard drive of your computer gets full pretty quickly, and as you know, computers can crash, so storing your files on an EHD gives you the added storage you need and a back-up solution. For this purpose, I have two EHDs hooked up to my computer at all times. One stores all my working files, photos, music, etc., and the other backs-up all those same files. The only files I keep on my computer’s internal hard drive are business documents and copies of receipts (which I also have a back-up copy of on my EHD).
EHDs come in all sizes, and you can usually get pretty good deals online at Amazon or at your local Costco or someplace similar. If you have a lot of photos and digital scrapbooking supplies, I would go with a minimum of a 1 TB EHD to start. The great thing about these EHDs is the ability to fill them up, unplug, and store them. Once my EHD used for back-ups is full, I unplug it, put it back in its box, and store it on a shelf. If I lose a file and need to retrieve it, I can just grab that EHD off the shelf and plug it back in.
Another benefit to keeping your photos and digital scrapbooking supplies on an EHD is that you can unplug it from your computer and take it to a friend’s house to use at a laptop crop! You can take it to your grandparents’ house to download photos easily to their computer. No more time wasted burning discs of photos for them! An EHD is portable and easy to use.
So, how do we protect our EHDs? There seems to be much debate about keeping your EHDs on constantly. Some sources say that they last longer if they are not constantly turned on and off, while others say that keeping them on all the time causes them to become hot, and therefore, they are more likely to fail. So what do we do?
As with anything valuable, we must always have a back-up plan. That’s why storing at least two copies of every important file is a necessary habit to have. Use an EHD for all your working files, things you use on a consistent basis, and then a second EHD to back-up all those same files. That way, you are prepared in case of an EHD failure. You know that old saying, “Better safe than sorry.” It really does make a lot of sense!
For information about cloud based back-up services like BackBlaze see this blog article.


